Skip to content
Welding Gear
Make Money
Guides
Careers
Health
Education
Toggle Menu
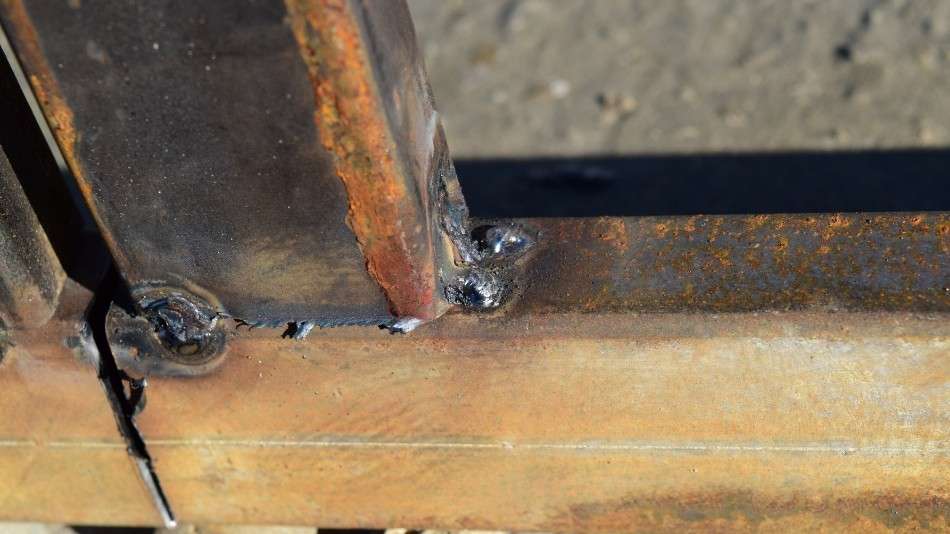
Improve Your Weld Quality – Large
Welding Gear
Make Money
Guides
Careers
Health
Education