Why Does My Welding Rod Stick to Metal – 8 Ways to Fix It For Good
If you do much stick welding at all you know one of the most common issues is your welding rod getting stuck to the metal on the initial contact. This can be a frustrating issue to deal with and one I had to fix several times over my welding career. So why do welding rods stick to metal?
Welding rods will stick to metal because of a poor connection between your positive and negative clamp. This could be due to the lead or ground clamp having a loose connection or not grounding out due to, to much spatter, dirt, and mill scale.
In this article, I’m not only going to cover why your welding rod is sticking but also give you some simple quick tips to fix this issue.
Why Does Welding Rod Stick
Like any welder, it needs to complete a circuit from a positive to a negative form of energy. If this circuit is not complete or only partially completed it’s likely your welding rod will get stuck on contact and not allow you to move it.
For example, if you strike the arc and it suddenly quits that means you’re not grounded correctly. This means somewhere in your connection the circuit is broken. From here the rod will be attached to the metal and can be hard to break free.
In some cases, you may be able to bend the rod to break it free, or re-establish the connection and continue welding. If that doesn’t work you may need to get a hand grinder or a cut-off grinder to take it off the metal.
So what causes your welder to not ground out properly? Here are just a few of the reasons…
- Weld spatter
- Dirt and Grease
- Mill Scale
- Bad Ground Clamp
- Rusty Metal
- Loose Connectors
- Loose Part
So now that you know why this might be happening what can you do to fix this issue? Below are several ideas to help you fix this issue to help from having your welding rod sticking.
How to Keep Your Welding Rod From Sticking
Below are the things I’ve done to stop this from happing to me. Take your time and investigate why this happing to your and one of these solutions should help you stop this from happening.
1. Keep Your Connections Clean
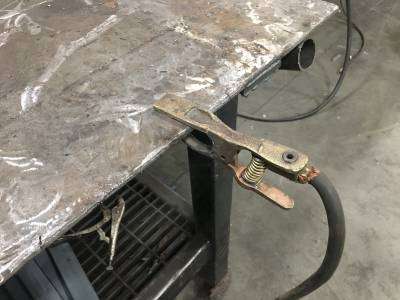
The first thing to check is all of your connections. Start with your ground clamp. If there is to much spatter on on it, it may be causing it not to ground out. So clean that off with to start. Make sure the surface looks shiny.
You also want to check what you are grounding to. If you are clamping to a painted surface it may not allow it to ground properly. You may need to grind the surface to make the connection.
Quick Tip: Put your ground clamp directly on the piece you are welding to get the best ground if nothing else works.
Finally, if all else fails check the connections going to your welder. If your lead and ground clamp is loosely connected to your welder it could be causing you to sporadically connect causing the issue.
2. Use a Hot Start
The next thing you can do is to hot start your welder. Newer welders like the Esab Miniarc Rogue have a setting on it that allows it to increase the machine’s amount of amperage when it strikes the arc.
Doing this allow the rod to get hot fast to keep the circuit going. The only downside to this is if you have an older stick welder you likely won’t have this option.
3. Clean Your Mill Scale Off
The next option is to clean off the mill scale from your metal. Mill scale is that thin layer of carbon on the top of most standard a36 metal.
The problem is while this is metal it can become slightly detached from the main body of metal over time causing your stick welder not to ground.
To fix this issue simply ground off the mill scale off of your metal to avoid this issue. To give the best ground possible grind both the side you want to weld and the surface that will lay on your welding table.
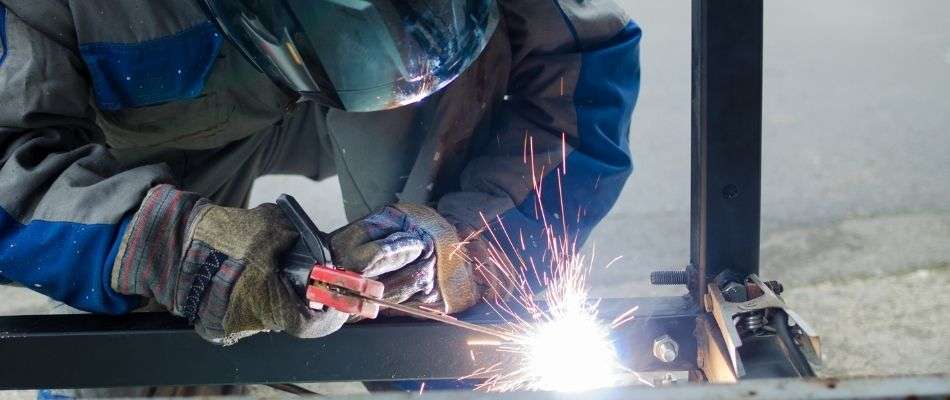
4. Clamp Down
Once you have the mill scale ground off you’ll want to clamp down your project directly to the table. The reason for this is because when you weld it can cause the part to vibrate and move breaking the connection.
To avoid this clamp your project to your table so it doesn’t move. I personally like to use Bessy Clamps for this because they are high quality and work great for welding.
Related Article: Check this article out if you want to see a full list of clamps I use.
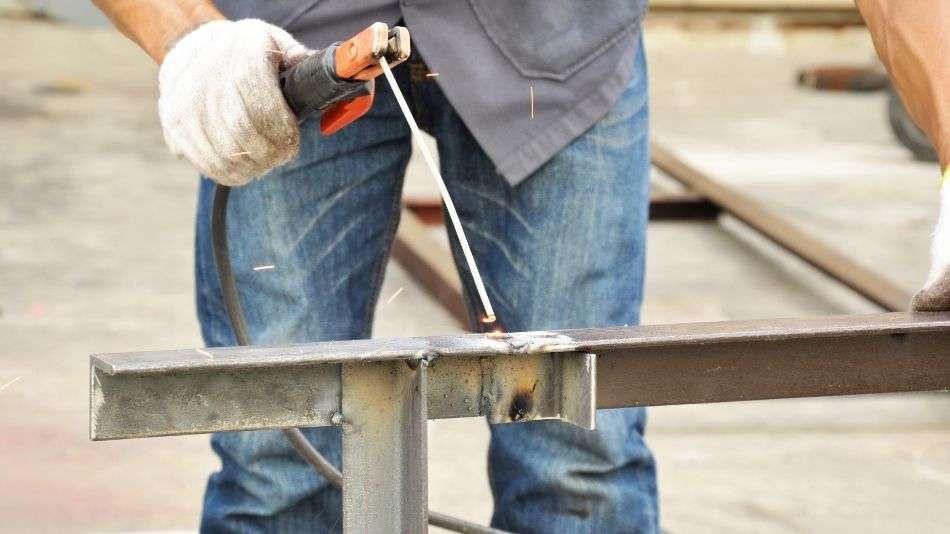
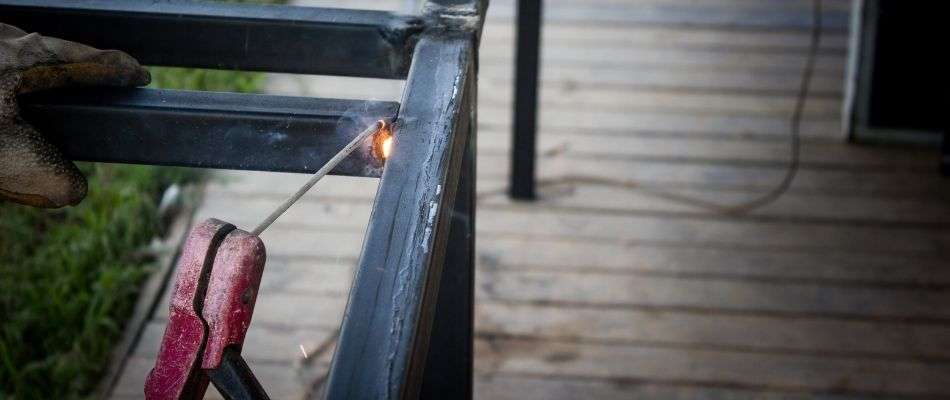
5. Don’t Jam Your Rod
The next thing to consider is how you are striking your arc when welding. The last thing you want to do is just jam the rod face down into the metal. This is a sure way to get your rod stuck.
Instead, hold the welding rod at an angle sort of like how you would hold match when you are striking it. When you do this you’ll want to tap it and slowly start dragging it.
6. Remove Dirt and Spatter
Next you’ll want to make sure all the dirt and spatter is removed from your your table. Dirt, spatter, paint and anything else can block the circuit from getting through.
Even if its not on the metal you are directly welding it can effect the ground connection if you have dirt, and grease on your table.
So take some time to clean of your table from all of this dirt. Wipe it down and if you have a lot of spatter you may need to grind this off.
7. Grind the Flux Off the Tip
Another tip if your rod is still sticking is to grind the flux off off the tip of your welding rod. Do not take the flux off of the outside of the rod. This is needed to still shield the weld from porosity.
This will give you a cleaner connection to your weld and allow you to strike the arc faster.
8. Check Your Rods
Finally, the last tip is to check the welding rods themselves. If the rods have gotten wet, rusty, or even old, then they may not be good anymore.
If the flux is cracked and cracking off then you may need to get rid of those rods and get new ones. If the rod has rust on the grip end then it may likely be preventing the arc from sticking.
If the rods are wet then they defiantly won’t work. You’ll want to keep them in a dry place covered up.
Finally, you don’t want the rods to get dirty. Dirt between the metal and the rod may only partially strike the arc and cause the welding rod to stick.