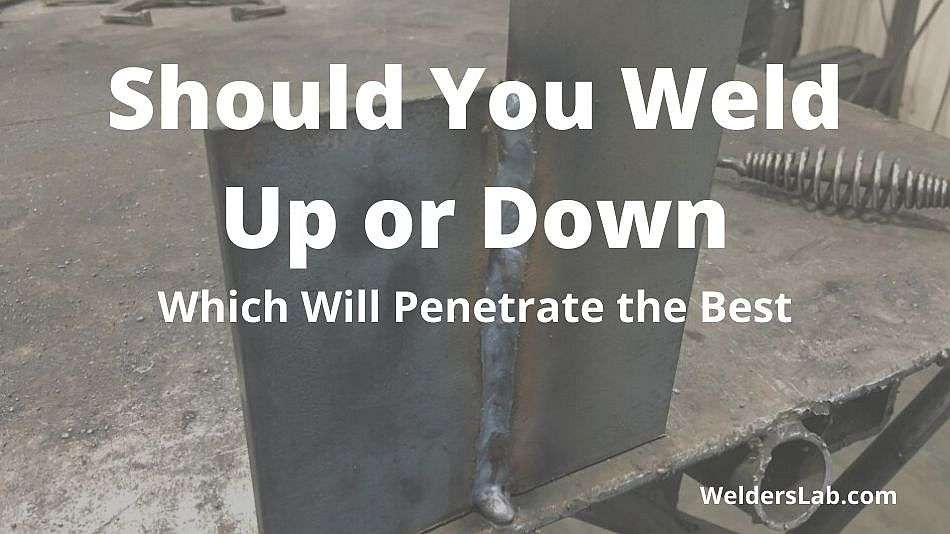
Should You Weld Up or Down – Which Will Penetrate the Best
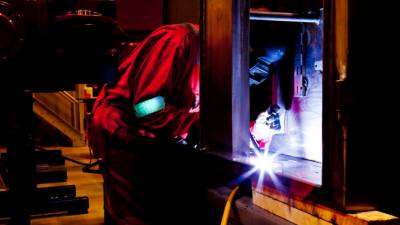
One thing I learned early on as a welder is that you almost never weld in the same position. One moment you might be welding flat the next you could be doing a vertical down. It’s these vertical welds that can be a bit tricky if you don’t do them right.
So should you weld up or down when it comes to a vertical weld? A vertical up weld will penetrate better while a vertical down weld may look more aesthetically pleasing. Both welds take practice to learn but can be very helpful when used in certain situations.
There are a couple of different ways to perform a vertical weld. You can weld from the bottom, working your way towards the top of the joint. Conversely, you can start at the top and move towards the bottom of the joint with your weld.
Learning the technique is pretty difficult, and there are a lot of differences, so let’s take a look at the 2 types of vertical welding. By the end of this article, you should know a lot more about these methods and when to use them.
Welding Vertical Up or Down – Should You Weld Up or Down?
Most of the time, the answer to whether you should weld vertical uphill or down will be to weld uphill.
Vertical up welds are stronger than vertical down welds thanks to the penetration you see. They perform very well in stress tests. On the other hand, vertical down welds are great for sealing things.
If you’ve got a thin metal and need to fill a hole, then downhill is very quick and easy and unlikely to burn through things.
Difference Between Vertical Up and Vertical Down Welding
Starting from the top of the joint is called down hand, or vertical down, welding. Starting from the bottom of the joint is called vertical up welding. These techniques are very different.
Welding vertical up is very strong and almost as efficient as a flat weld. Vertical down, on the other hand, is cosmetic. It’s easier and looks great but won’t be useful for structural welds because the weld isn’t strong.
If you’re wondering, should you weld up or down, then we can help with that determination.
Is it better to weld up or down?
Both of these welds are useful. It just depends on what you’re trying to do with them. Vertical up welds are very secure.
They’re structurally sound and work very well under pressure tests. On the other hand, down hand welds are useful for quick seals. While they’re not strong enough to handle stress tests, they’re fast and effective with holes and creating airtight seals.
Thinner metals are more receptive to downhill welds, too. They don’t need as much penetration for an adequate joint.
Vertical Up Welding
This is a very strong and efficient way to weld. In fact, welding this way can prove as effective flat welds.
This technique is one of the most difficult to learn. You will usually want to use a triangle weld for this method. You will weld a shelf at the bottom of your joint, using a triangular weave.
Reinforce it, moving upwards 1 layer at a time. Do not remove the electrode from the molten pool, and never use a whipping method.
You will need your electrode to be pointed slightly upward so that you can control your puddle through the force of your arc.
You will need to weld slowly. Vertical up welding is not a race. The shelf can’t spill, so take your time to maintain the shelf carefully. The lower range of your currents will work well for this task.
Make sure that you pick the right electrode for the job. The biggest challenge when it comes to vertical up welding is that you’re fighting against gravity.
Your weld is going to want to drop down and slide, and you need to prevent that.
Quick Tip: Picking a stick electrode that is 7018 is the best option because it’s got a low level of iron. The puddle freezes quickly, so it won’t drip as quickly or easily when it’s liquid.
Creating the shelf is also going to be integral to this. Slow speeds allow you to penetrate deeply as long as you’re able to prevent the puddle from spilling. When you’re using thick metal, you want to weld uphill.
This type of welding is akin to laying down brickwork. This is because you form a base at the bottom and work your way up, slowly, taking one section at a time.
When you lay a new layer down, the lower weld is a solid base for it, making it easier. These beads are known as shelves.
Each of these layers, or shelves, needs to be about 1.5 or 2 times wider than the diameter of the electrode you’re using. You want to use a slow, zigzag motion.
This lets you work consistently, forming steady bases without the puddle spilling. It will freeze in each area so that you can move up.
Hold your electrodes at an angle that puts them slightly uphill. Make sure that you keep your arc short to achieve the ideal levels of penetration and ensure that your joint fuses properly together.
When you’re weaving, focus on the sides. You need to let the lower bead cool down so a shelf can form.
You also want the slag to drop off the shelf. If slag gets trapped in your weld, it will cause problems with the integrity. You also want to work slowly so that you don’t overheat your base metal.
If that happens, your puddle will spill all over and you’ll need to pull your arc away from the crater.
Make sure you don’t undercut while you weave. If you gouge your work and don’t fill it enough, you will destroy your work.
Gravity works against you when it comes to this because it pulls your filler metal away from your work. You can avoid this issue by working slowly and at a low current.
Low power settings are imperative to vertical uphill welding. Your puddle will need to freeze quickly, so if you have your amperage set too high, you will lose control and possibly even burn through your base metal.
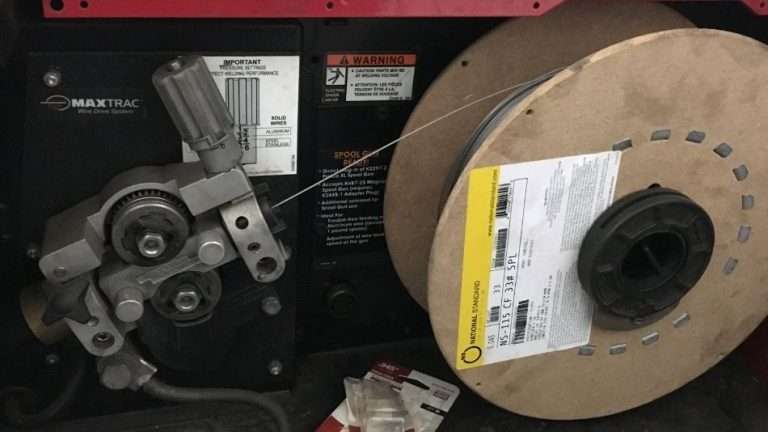
Flux-cored welding is actually a good choice for vertical uphill. This method has started overtaking stick welding because it’s got a continuously fed wire.
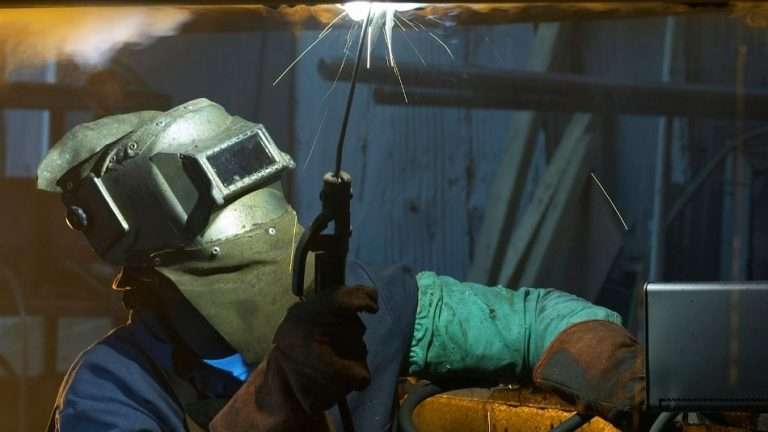
Remember, you need to follow standard safety procedures. In flat welding and horizontal welding, these are important. In vertical welding, it is even more critical because the spatter and molten metal is falling towards you instead of away from you.
You definitely need your helmet, gloves, safety helmet, and fire-retardant clothing with long sleeves and safety to shoes.
Vertical Down Welding
This is a cosmetic weld. It looks really pretty, but you won’t want to use it for structural reinforcement.
These do work really well for seals and rails. Handrails are very strong already, so using a down hand weld can quickly join them together. They’re also useful for oil tanks and stoves that need to be sealed.
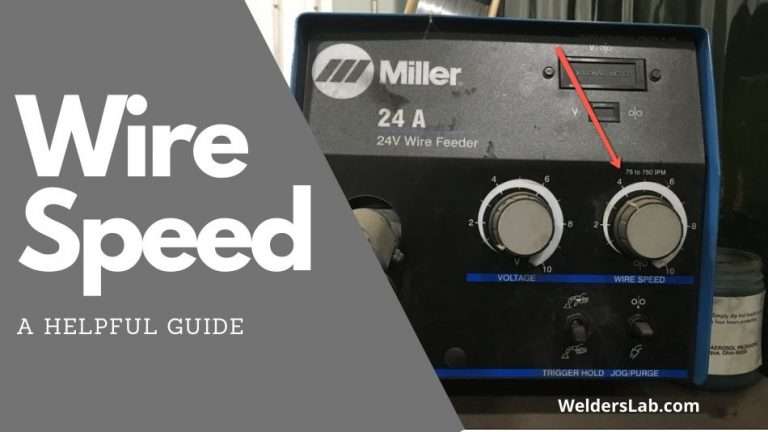
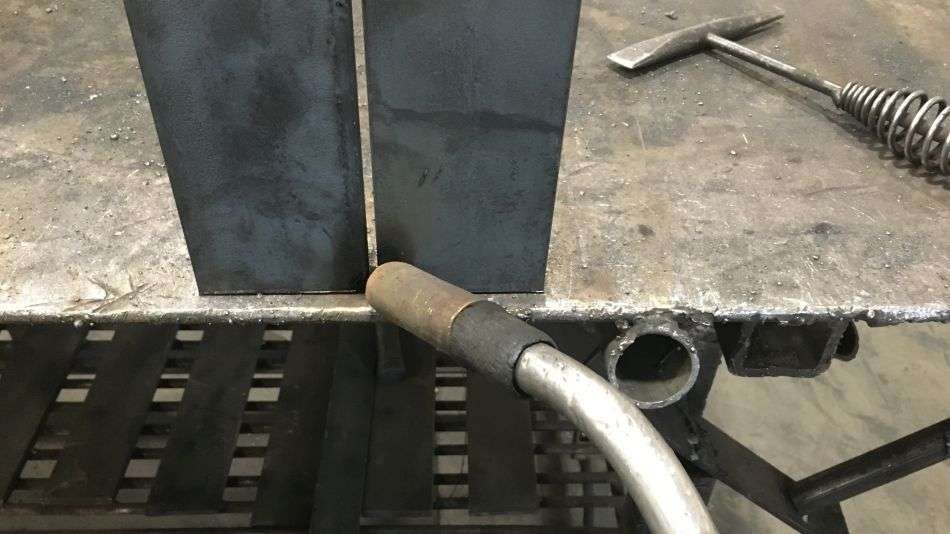
This form of welding does have some advantages, though. The wire feed can be controlled and so can your travel speed and voltage. Usually, vertical down welding happens with GMAW because of the extra control you receive.
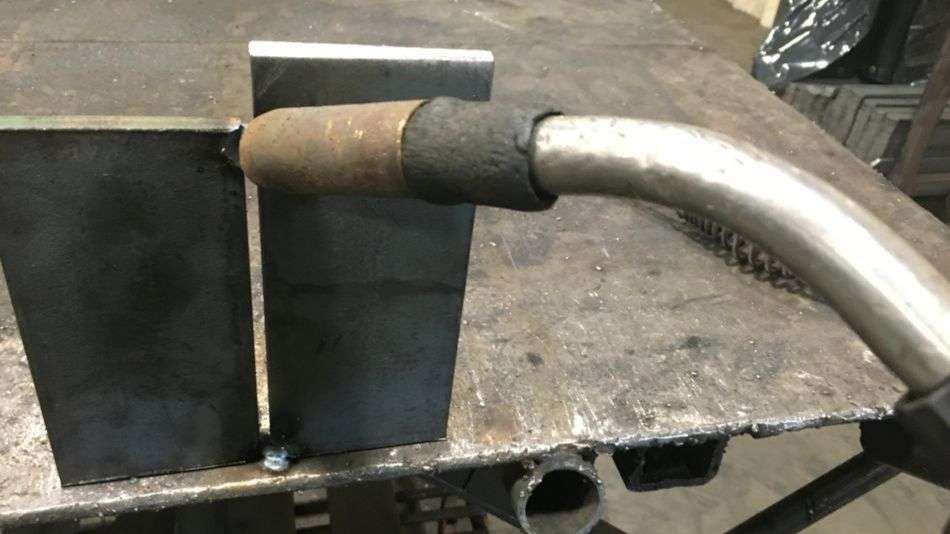
The thing you need to keep in mind in order to successfully weld in the vertical down position is that you need a small drag angle.
It should be somewhere between 10 to 15 degrees. When you do this, it will be easier to keep your arc on the leading edge of your puddle.
You need to be careful when you start this type of weld. Otherwise, you will end up without enough filler on your weld’s face.
You should hold your rod at about 60 to 70 degrees and point it uphill. Make sure you go quickly but don’t ever whip or pause. Using a fast freeze rod can help prevent dripping and slag.
If you’re using a stick to weld this way, then you will need to make sure you keep an eye on your puddle. No matter what, you must stay away from your flux. Work quickly, so you don’t burn through.
Another thing downhill welding is useful for is some different preliminary things. You can make root passes, fill passes, and hot passes using downhill before switching to uphill.
One of the advantages of downhill welding is that you’re far less likely to burn through your metal. The speed prevents this from being a factor.
Conclusion
When it really comes down to it, practice makes perfect. Improving your skills with both vertical up or vertical down welding happens with time and practicing technique.
Once you’ve mastered both techniques, they will prove incredibly useful for your welding skillset.
Vertical up welds are as strong and reliable as flat welds thanks to the stacks of layers you cerate.
They are useful in a wide variety of situations where working with the flat technique is not possible. The downhill method is perfect for sealing holes and preventing metal burns through. Which one do you prefer?