How Do You Weld Rusted Metal – 7 Steps With Pictures
If there is one thing I can tell you about welding it’s that it’s not always pretty, and over the years I’ve welded some pretty nasty stuff. At the top of that list is rusty metal. This can be one of the most difficult things to weld and get to look good. So how do you weld rusty metal?
Stick welding with 6010 and 6011 rods on pure rusted metal is the best option without any surface cleaning. If you can grind and clean the surface the MIG welder will do a much better job and give a more aesthetically pleasing weld. Once welded check the weld for any porosity and imperfections.
In the rest of this article, I’m going to go more in-depth on how to weld rusty metal and what you can do to prepare metal to give you the best outcome possible.
Can You Weld Rusty Metal
Welding rusty metal is possible. However, it’s not going to give you the best-looking weld in most cases. However, there are times when you’re going to have to put things aside and weld them to get through things.
For example, what if you were out in a field pulling your last load of hay in and all of a sudden snap? The hitch on the wagon snaps and you’re stuck. In order to move the wagon, you need to reweld the hitch back together.
I’ve been in these situations, and you need the job done right now. You don’t have time to make a great-looking weld because everything is rusty.
So what do you do? You weld it.
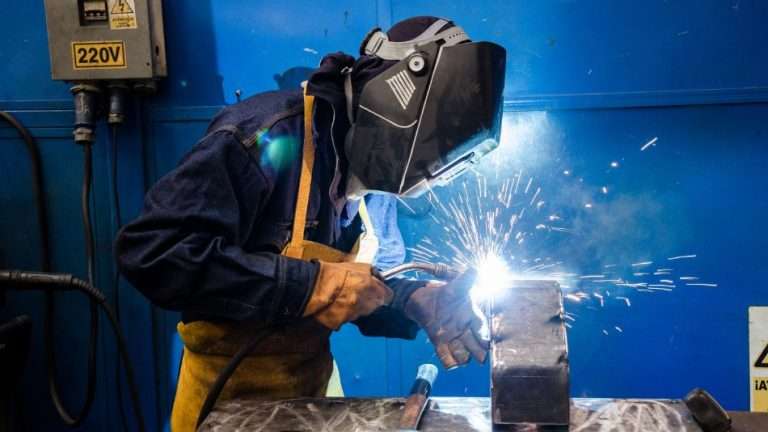
In this kind of situation, the best option is to use a stick welder. If you don’t have access to a stick welder a generator welder such as the DEKOPRO 110/220V MMA Welder is a great mobile welder to have in situations like this because you can take it anywhere to get the job done.

The reason I suggest a stick welder in this situation is that it tends to work better at burning through the rust, dirt, grease, and paint to an effective weld that will hold. I also suggest using a 6010 or 6011 rod.
These kinds of welding rods will burn hold and allow you to get through the rust to pernitrate down to the better steel.
In the rest of this article, I’m going to share my process and tips for welding rusty metal to help give you the best outcome.
7 Steps to Weld Rusted Metal
Now that you know that you can weld rusty metal, the next question is how do you weld rusty metal to give at the very least an effective weld that will hold. In the rest of this article, I’m going to share the seven steps I use when welding rusty metal.
1. Assess the Situation
The first thing you need to do is assess the situation. Before you can do any welding you need to know some things about the metal you are welding. A lot of people skip right over this and start laying down beads.
You want to know what you are welding so you can do it right the first time. So here are a few questions that I usually ask myself before I do anything else.
How thin or thick is the metal? If the metal is extremely thin it could be hard to weld. You’ll likely burn through the material. If it’s too thin it may disintegrate on contact and may not be able to weld it. If the metal is thicker it will at least give you something to weld to even if you have to burn through a few layers of rust to get to it.
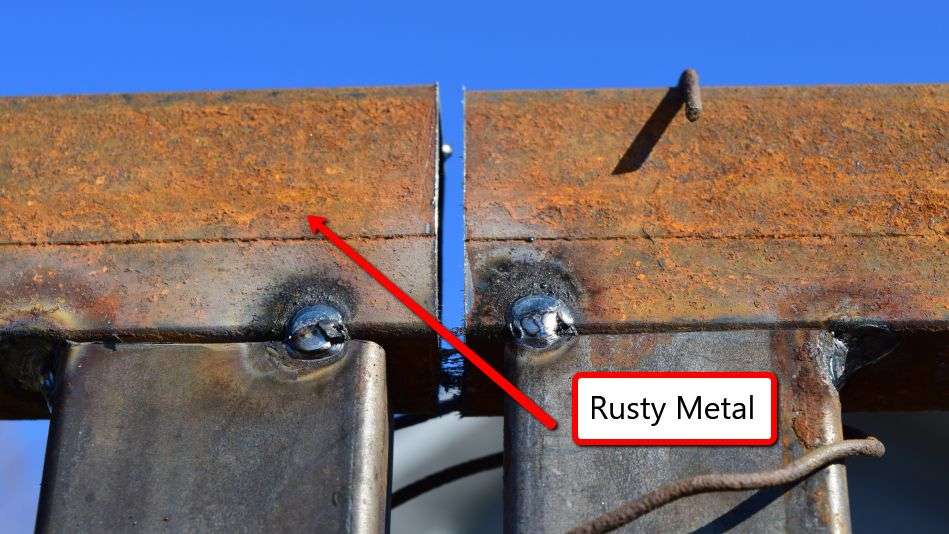
What is on the metal? Next, you need to consider what is all on the metal. Rust is one thing but if you have dirt, grease, and paint it’s going to make your job a whole lot harder.
How rusty is the metal? You also need to determine how rusty the metal is. If the piece is rust all the way through it may not be able to be welded. In some cases, you may have to cut out the bad rusty spot back to a more reliable thicker spot and weld a new piece of metal in.
Is the metal structurally sound? Finally, is the metal structurally sound or will it hold up under stressful situations? In some cases, this can be hard to tell but if the metal is paper-thin it probably won’t hold up.
2. Determine the Kind of Welder You Will Use
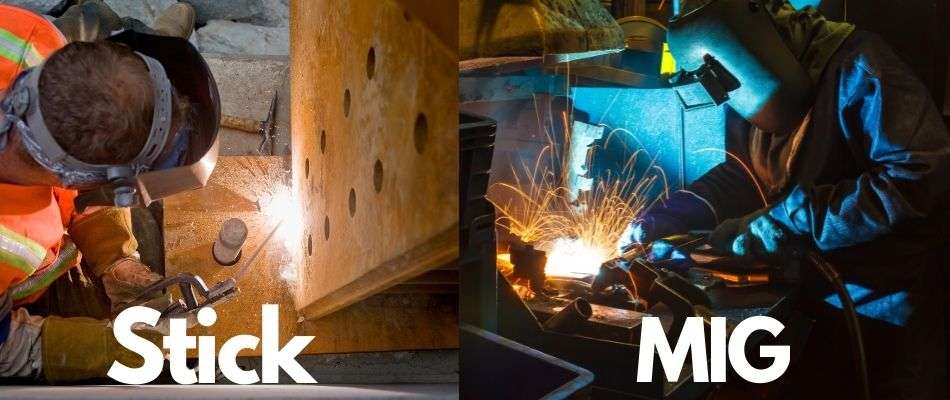
Now that you have a better understanding of what you are working with you need to determine what kind of welder you’re going to use for the job. In this case, you’re going to use one of two welders a stick welder or a MIG or wire welder.
The question is which kind of welder should you use?
If you have to weld the metal as it sits then you would be better off using a stick welder. As I mentioned before it’s going to give you the best penetration for rust and burn-in hot enough to hit the deeper solid layers of steel.
If you have time to clean the surface and prepare it properly a MIG welder would be your best option. If you can remove the rust with a hand grinder and wipe away any excess dirt you’ll be able to penetrate better, create a better-looking weld, and put something in place that will hold for a long time.
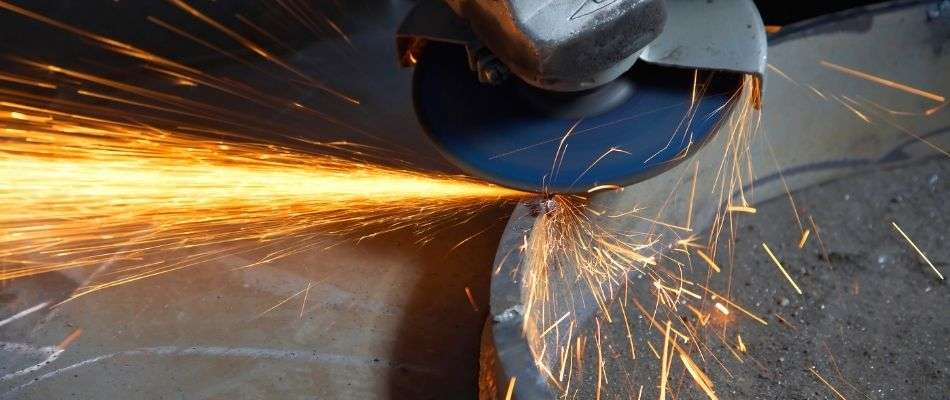
3. Clean the Surface
Your next step is to remove the rust from the surface and get down to the better layers of metal below. There are a few ways to do this.
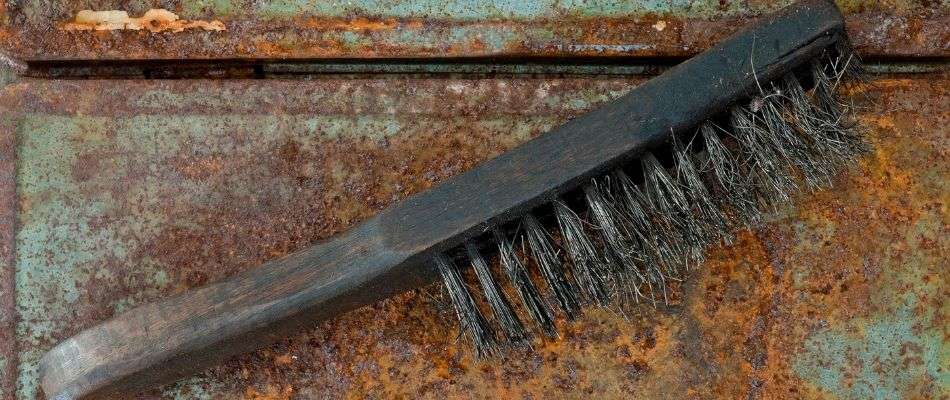
Your first option is to use a wire brush. This is a good option if you don’t have access to anything else. It will allow you to remove some of the rust that may be loose on the surface of the metal.
The brush below also has a scraper on it to help remove loose rust, paint, and dirt. If you have no other option this is a great way to go.

Your second option is to use a hand grinder. I personally like the Dewalt Angle Grinder with a 4 1/2″ grinding wheel. This is the best option if you are dealing with thick and heavy rust.

If you’re only dealing with some light surface rust then I like these Forney Wire Cup Brush. These do a great job for the price of cleaning up basic surface rust.

Sandblaster. The third option, if you have a lot of rust to clean off and a surface grinder would take a lot of time is to use a sandblaster.
Related Article: To learn more about how to prepare metal before welding check out my complete guide here.
This sandblaster works great and cleans large rusty surfaces and hard-to-reach places a hand grinder can’t reach.

4. Set Your Weld
Now that you have the rust removed you need to set your weld. You want your get your weld set in place to weld and your ground clamp in place.
If you weren’t able to remove all the rust don’t worry. You’ll want to get the majority of the loose stuff removed for one major reason, grounding.
If you have too much rust on the surface of the metal it’s going to affect your ground. The rust will not allow the circuit to complete and the arc to strike.
5. Make Your First Pass
Now that everything is ready to go it’s time to make your first pass. Before you start there are a few things to check.
First, check the type of wire or rod you are using. If you’re welding thinner metals at 1/8″ or less you’ll want to consider using a smaller rod size like 3/32″ or an .035 wire.
Using a smaller wire will help with preventing burn through but you need to check one other setting.
Safety Tip: You may need to wear a welding fume mask. This will help protect you from the nasty rust, dirt, and paint fumes that may come from welding this kind of stuff.
Second, check your amperage settings. If you are welding something thin that is mostly rusted through you’re going to want to turn your amperage down to avoid burn-through as well.
As you’re making your first pass take your time to see how the weld reacts to the rust. If the weld gets too hot it may burn through.
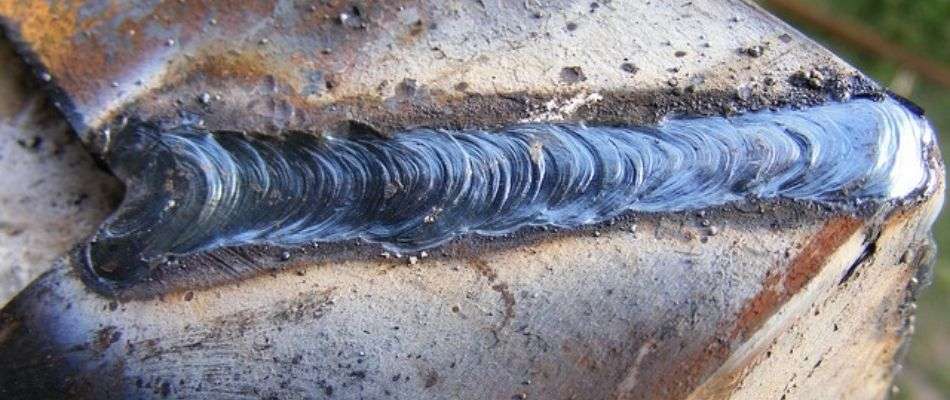
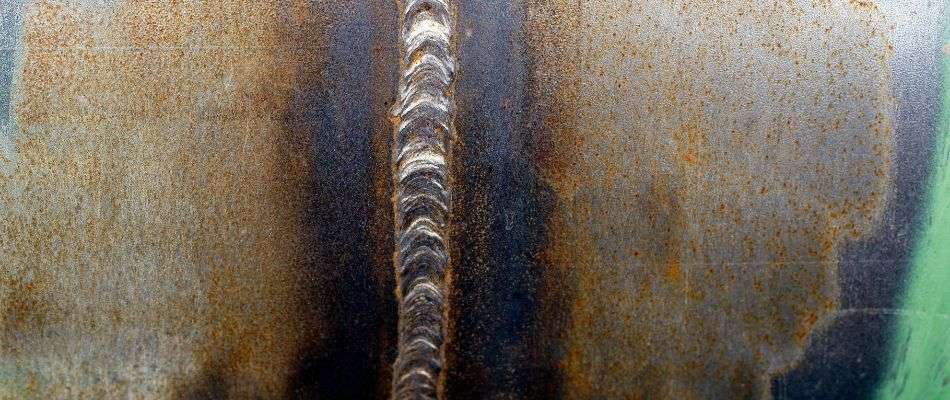
6. Check Your Weld and Clean
Now that you’ve made the first pass you need to see what the weld looks like. Here are a few things to look for.
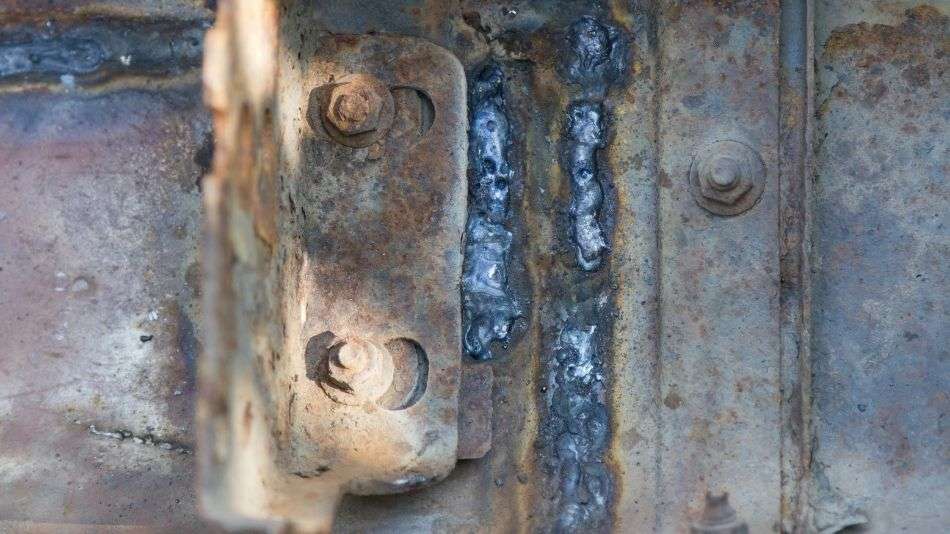
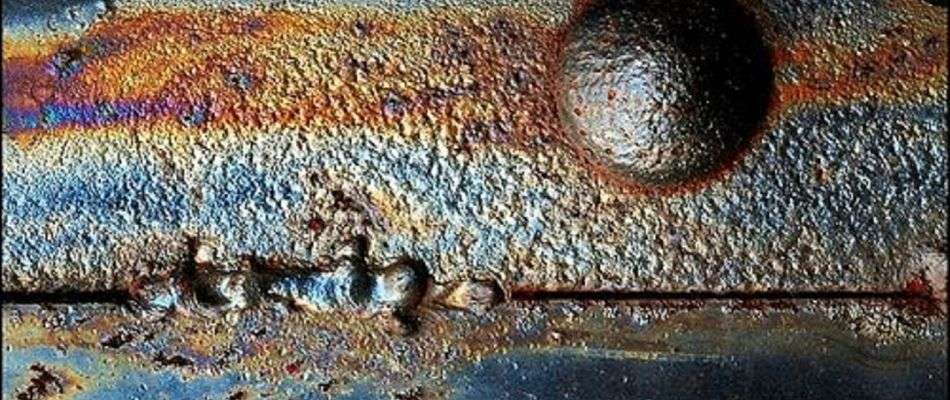
Clean the Weld. First, take a wire brush and clean the weld. This will allow you to see the imperfection in the weld. If there is a crack or porosity then this will help you better identify them.
Porosity. If the weld has a bunch of pinholes in it then it’s likely the gas mixture and the rust have something to do with it. If your weld has this then it will likely be a weak weld and needs to be ground back out and rewelded.
Penetration. Next, look at how well the weld penetrated the metal. If you’re not seeing a smooth uniform penetration then you’ll likely have a good weld.
Related Article: Want to know what makes a good weld? Read this article.
Also, make sure the weld didn’t burn through or undercut the metal. This means you’ll also have a weak weld or a thin penetration.
7. Make Your Final Welds
Finally, if everything looks good you can make your final welds. With each pass make sure to look things over to see that everything is going correctly.
If things start to change then you need to correct them before they get worse.
So if you are welding a rusty piece of metal then consider following these basic steps to achieve a successful weld.