
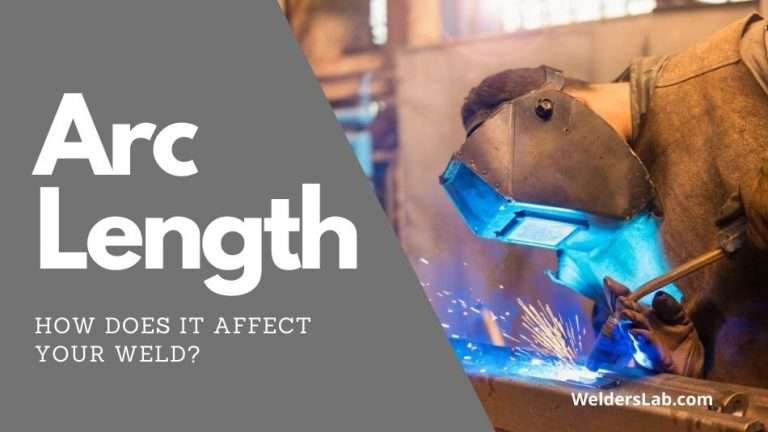
7 Things That Make A Good Weld
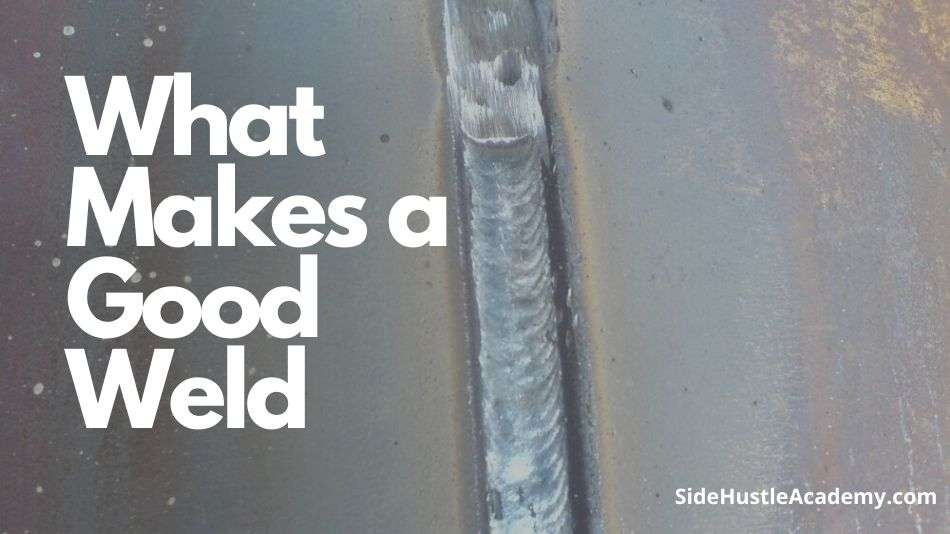
When I was first getting started as a welder I made a lot of mistakes. I made a lot of bad welds but I learned a lot and over time I improved my skills. Overall I found that there are seven things that make a great weld.
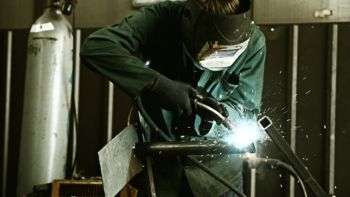
Welding requires a clean surface, a good shielding gas mixture, a deep penetration that has a uniform width and size, with a groove or gap that will make a stronger weld and allow it to pass a weld strength test.
So if you want to start improving your welds then keep reading. No matter where you are in your welding journey, you can benefit from these seven habits.
1. A Clean Welding Surface
How are you going to join metal together if it isn’t clean?
You’ll want to make sure there aren’t any impurities on the metal before you start welding, as they can cause the metal to become porous and weak. Make sure to clean the metal thoroughly before you get started with the weld to remove contaminants.
Get rid of any paint, rust, and wipe down the metal with sandpaper and acetone to clean off as many particles as possible.
You don’t want anything interfering with your wield, and if the metal is extremely rusting and damaged, you can break out the sandblaster and remove the rust that way.
Additionally, you should also be welding on a clean surface that is as smooth as possible. Clean your workbench area and make sure that any tools are out of the way.
You certainly don’t want to clean the metal and then have particles from your workbench get in the way and make all that work have been for nothing.
You don’t want to be bumping into objects or having the metal slide around against something while you are trying to weld them together.
That’s not only going to cause problems with your weld, but it also might cause damage to you if things slip.
2. A Good Shielding Gas Mixture

The shielding gas mixture you use will show how your weld will look. If if you want the finished product to look a certain way, you will need to pick out the perfect shielding mixture to use during your weld.
For example, using argon and CO2 in a 95/5 or 90/10 ratio can allow for both good quality and good durability for your weld.
If you just want to get the job done quickly, and don’t care how the weld looks, then pure CO2 will work just as well. Plus, pure CO2 isn’t as expensive as mixing it with other gases.
Oxygen is also a good gas mixture to use as a minor component with argon, as long as the metal you are welding doesn’t oxidize.
Depending on the type of metal you use, the amount of penetration you want, and how you want the finished product to look, you can choose from any number of mixtures for shielding gas.
If you are a beginner, then do some research to figure out what will work the best for your next project.
3. Penetration
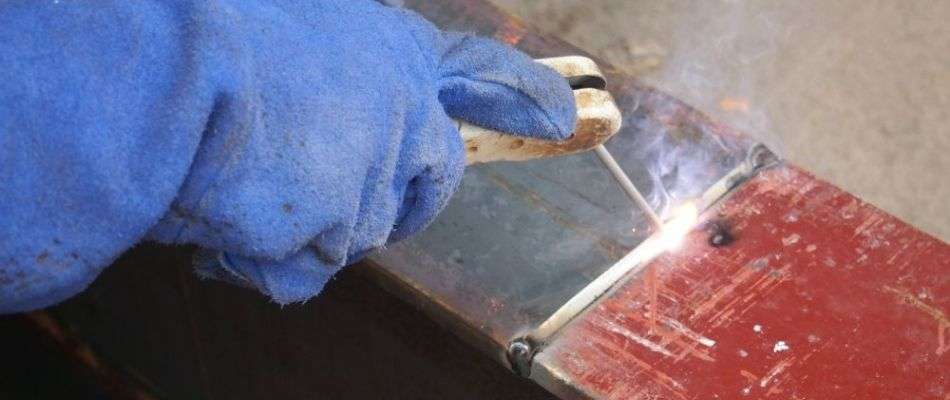
Penetration is the one thing you should pay attention to when you weld, as it is the thing that holds the weld together.
If you have good penetration, then you will have a strong weld that won’t fall apart under pressure or stress. Now every metal that you wield has different levels of amperage that you will need to apply to get good penetration.
Setting the correct amperage on your welding machine can be different for every single metal you weld with, so it’s essential to know the amperage before you get started.
The two main things that determine the amperage needs are the type of metal you are using and the thickness of that metal, as well as the melting point of that material.
In general, thicker pieces of metal will need more amperage and get more penetration than thinner pieces.
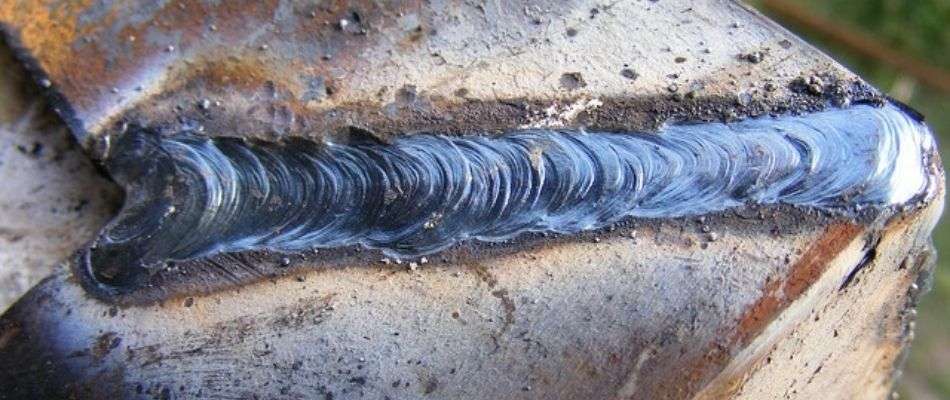
4. Uniform Width and Size
If your weld looks the same all the way around, then you are good to go. No one will ask you ‘what does a good weld look like?’ Because you’ve done it!
A good weld is one that will look like a row of coins stacked vertically. If the width and height aren’t done correctly, then the weld is at risk of falling apart, and no one wants that. You do not want a defective weld!
If your weld beads are not all the same shape and size, then you can either decrease or increase the current flowing through the weld to make the beads smaller or bigger or increase and decrease the travel speed.
Then once all the beads are uniform, you can move on and continue with the weld.
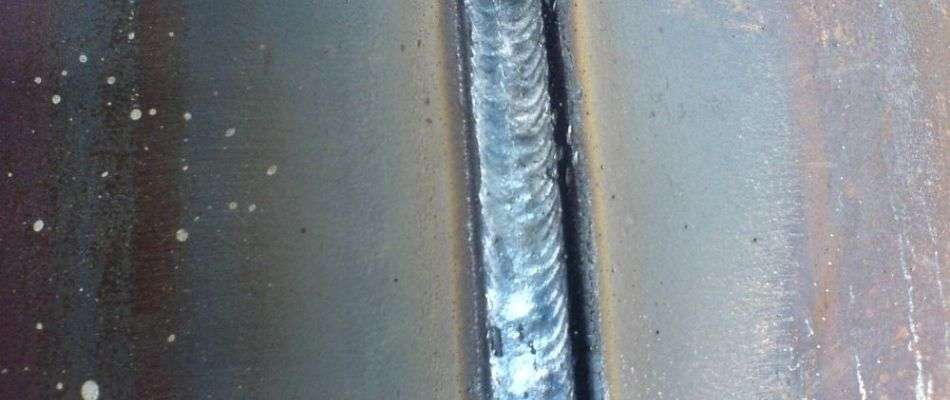
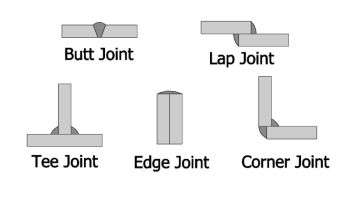
5. Gap and Groove

These different types of welds can help hold the metal together with better penetration than if you were to simply weld them together flat.
A Groove weld is the second most popular type of weld, and the welding beads are placed into a groove between the two pieces of metal. Some joints that use groove welds are square groove welds and single v groove welds.
If you are doing a butt weld, then you would also use the gap and groove to help get your beads into the metal and secure the pieces.
This process is much better than merely welding the surface flat and is a tool that every single welder should know when asked what makes a good weld.
6. Wire Speed
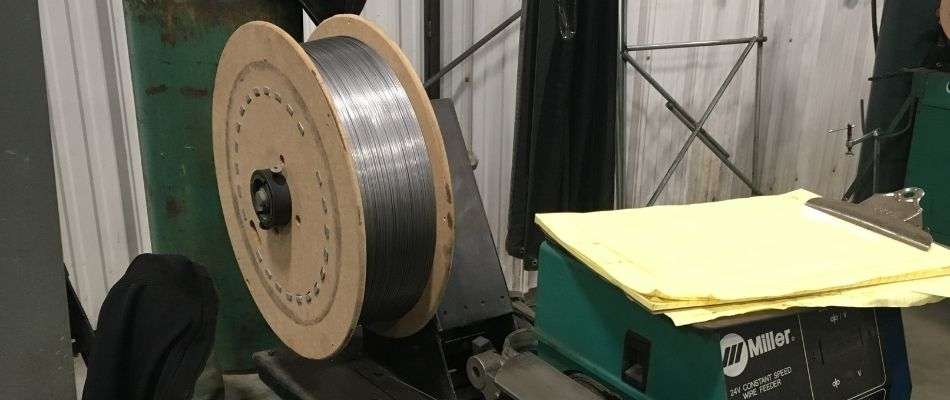
One of the many things you can change on your welder is the wire speed, and it can be a powerful tool in creating a good weld.
Again, this depends on how thick the metal you are working with is, as thinner metals will use shorter settings, and thicker metals use spray arcs.
The perfect wire speed is something you need to hit every single time when welding. If you go too slow, then you will get a narrow weld that is too fragile to be used, and the weld can cause cracks and discoloration in the metal.
If you are looking for a cosmetic weld, you should try to keep your speed up as you can lose control and cause damage to the metal.
Alternatively, if you go too fast with the wire speed, the current going through the weld raises up, and you might get burn through if the metal is too thin.
You could also get splatter weld and cracking as well, both of which are not good for your weld’s look.
That’s why experimenting and researching your wire-speed for the metal you are using is one of the first things any welder should do.
7. Pass The Weld Test
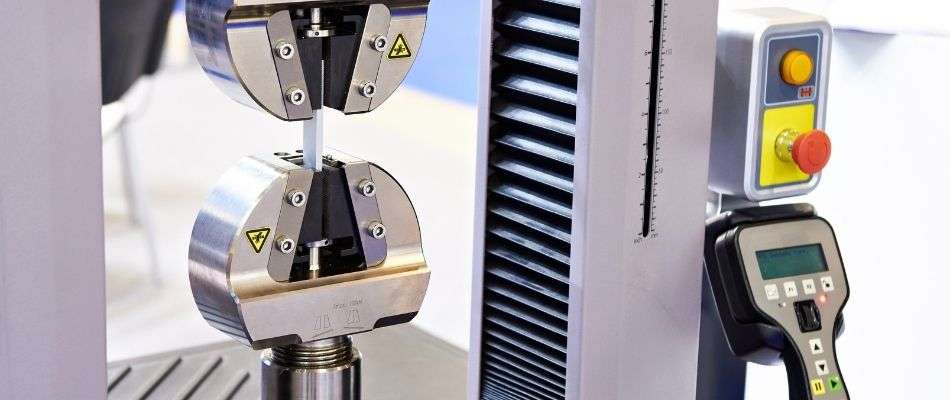
In order to make sure that your weld is durable, you have to put it through the aptly named weld test. This makes sure that the weld has good strength and can withstand pressure without breaking.
You can either cut the wield across and look at the penetration levels of the weld or place the weld in a press to see how much pressure it can handle.
Weld testing is done to stress test the product and put it through its paces. If your weld passes the weld test, then it can not only prove it’s strength, but it can also give you peace of mind that the weld works well.
If you are mass producing your welds for something, then testing results might need to be shared before your welds are accepted.
Always Do These 7 Things
It doesn’t matter whether you are a newbie to the world of welding or one of the best welders in the entire world.
Doing these seven things as you go through every single weld will only help you continue the project with the knowledge that it will look good and you won’t ruin your weld because of a mistake.
From starting your wield with a clean surface and a good gas mixture, to making sure your welder is set to the proper wire speed and amperage amount, to making sure your groove weld has the same size all the way through, you need to keep these basics in mind, even ending every project with a weld test.
More great welding projects have failed because these seven things were not followed than any welder ever cares to remember.
So always make sure to make your next weld a perfect one by following all seven of these steps! It will be well worth it in the end once the project is done.

Thanks for also talking about the possibility of discoloration when planning to weld metals. I’m interested in having my own weld booth in the future because I want to have my own workshop for metalworking. Learning how to weld properly will be a daunting journey so I need the avenue to get lots of practice.