7 Things That Make A Bad Weld and How to Prevent Them
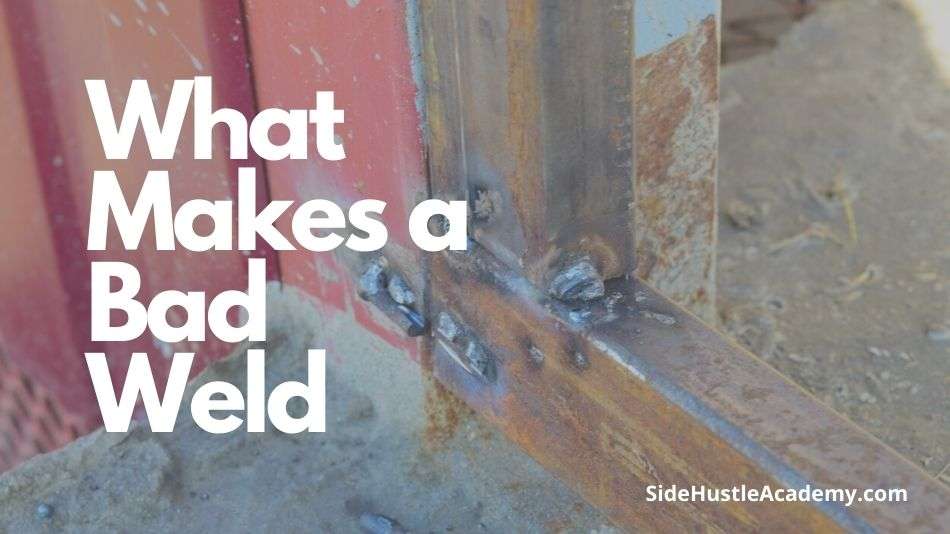
Welding is one of those things that has to be done right or they could break causing people to get hurt or even worse killed. Not every weld is this important but if it is you’ll be glad you knew what to look for by reading this article. So what makes a bad weld?
Bad welds can be caused by several reasons from…
- Wind blowing your shielding gas away
- Having a bad ground
- Having the wrong wire speed
- Metal is too cold
- Low welding amperage
- Too long of an arc length
- Undercutting your welds
Breaking down each of these seven things that make a terrible weld will bring them to your attention, and then you can avoid them to have your next welding project go off without a hitch.
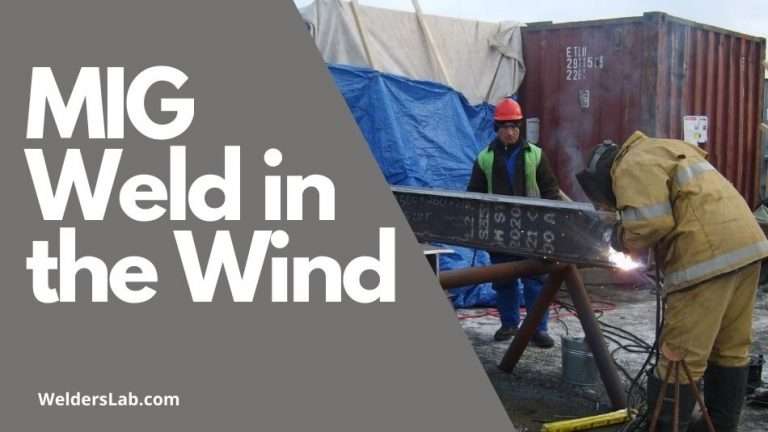
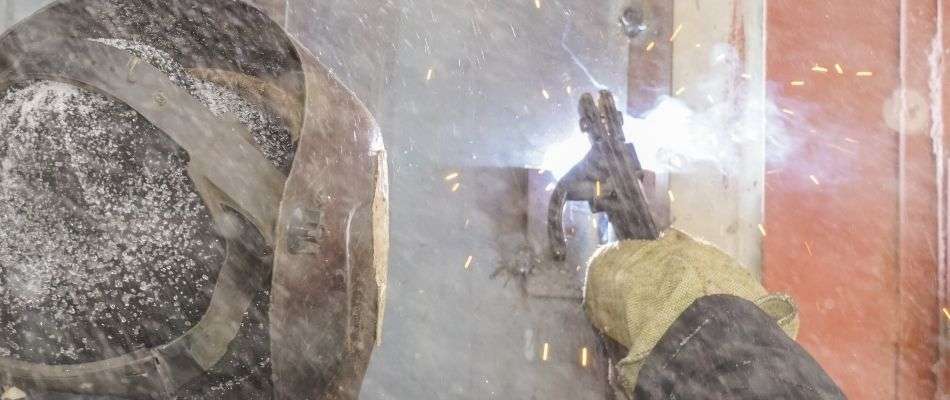
1. The Wind

This is one of the reasons that you wait for the perfect conditions before you weld outside if you even weld outside at all.
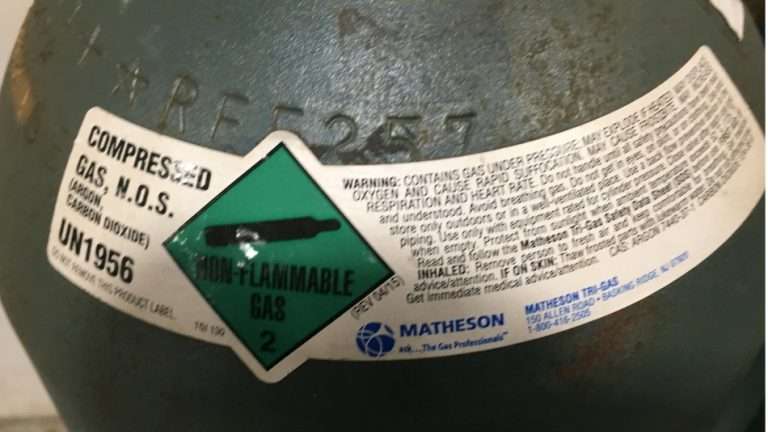
Excessive wind can cause significant problems for your weld by getting rid of the shielding gas. Shielding gas is a mixture of gases like Argon and CO2, Argon and Oxygen, and just plain CO2 that help you weld and can determine the way your wield looks and how strong it is.
It’s essential, and this is why the wind is so deadly. Too much wind can blow the gas away from your weld and can make the metal weak and porous.
Related Article: How Do You Fix Welding Porosity – A Complete Guide
Not only does this damage the strength and look of the weld, but it can also bring the project to a halt altogether. However, the easiest way to avoid the wind is to simply work indoors.
If you can’t work indoors for whatever reason, you should wait for a day where there is no wind, or perhaps build a windbreak over your outdoor workshop. It might not be perfect, but a good windbreak can stop the wind from getting to the gas.
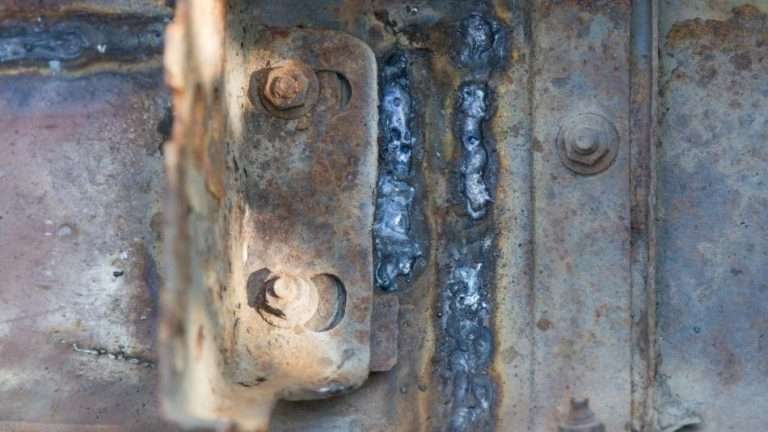
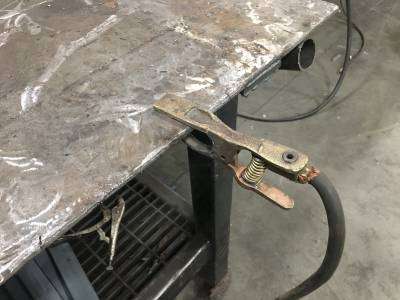
2. Bad Ground

This doesn’t just include the ground you are standing on, although we hope you are on good ground when welding, but also the surface of the metal you are welding.
In order to get a good strong weld that is free of contamination, you’ll want to have a very smooth surface.
This often means using sandpaper and acetone to remove rust, paint, and other particles to make sure the surface is clear.
Related Article: How to Ground Your Welder – A Helpful Guide
Your workbench should also be cleaned up so you can focus solely on the weld without bumping into tools or getting the bottom of the metal contaminated with the particles you just spent time scrubbing off.
Clamping your metal to a strong surface can also be a good idea, allowing you to completely focus on the weld and not have to use one hand to keep the metal in place.
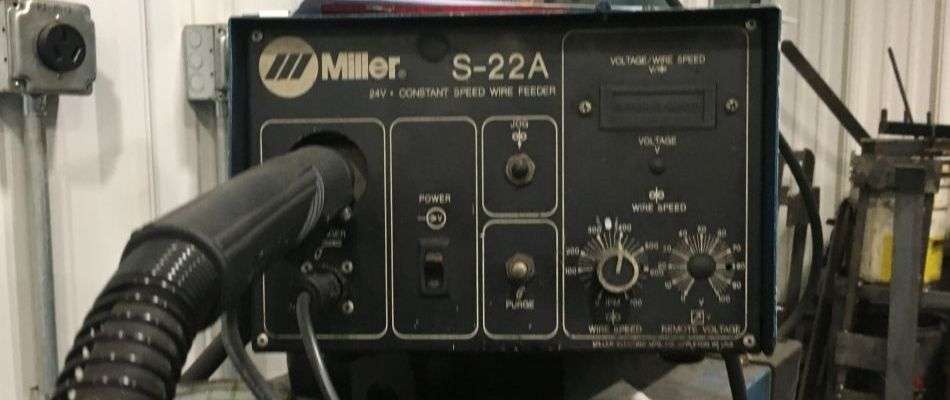
3. Too Fast Or Too Slow Wire Speed
The wire speed is one of the settings on your welder that can be quite finicky and specific for all the metals you are going to work with.
Each metal has its own wire speed that will provide a good strong weld and a nice finish to your wield that will look good.
If you have a wire-speed that is too fast, then you can get a very tall weld that won’t penetrate the metal and won’t secure it properly.
Related Article: How to Set Wire Speed on a MIG Welder – A Helpful Guide
A wire speed that is too low can leave a flat weld, and regardless of the wire speed, if it is wrong, your metal will become cracked and discolored.
You can experiment to find the perfect wire speed or just find the information you need online, and always make sure that the welder is set to the perfect wire speed before you start cutting.
4. To Cold Of A Welding Surface
If your metal is too cold, then good luck with trying to wield it.
The cold metal is very resistant to welding and melting, and there’s a good chance that instead of melting, the metal will simply crack under the pressure.
All your metal should be at room temperature before you start welding in order for you to get the best results.
You can keep your metal warm by storing it in a warm area, and if the metal is cold to the touch, leave it to warm up for at least an hour before you weld with it.
Related Article: When Is It Too Cold to Weld?
You can also preheat welding using induction or an open flame to heat up areas around the metal. If you have one available, you can even preheat the metal in a special oven that will allow for bulk heating.
Regardless of how you preheat, you need to get the metal to room temperature before you can start welding.
Preheating takes a while but can be done in a pinch or when the room temperature is too low to be effective.
5. Amperage is too Low
Much like wire-speed, Amperage determines the level of penetration that your welder uses to cut into the metal, and it needs to be perfect.
If your Amperage is too low, then the welder won’t penetrate the metal deeply, and if it is too high, you can get burn through on your weld.
Related Article: How Many Amps Do I Need for a MIG Welder?
The amperage and level of penetration needed once again depend on the thickness of your metal. The thicker the metal is, the more amperage you need to get a good weld.
Finding the thickness of the metals is easy to figure out online, and you’ll be able to find the amperage you need to get the perfect weld every single time.
6. Arc Length Is Too Far
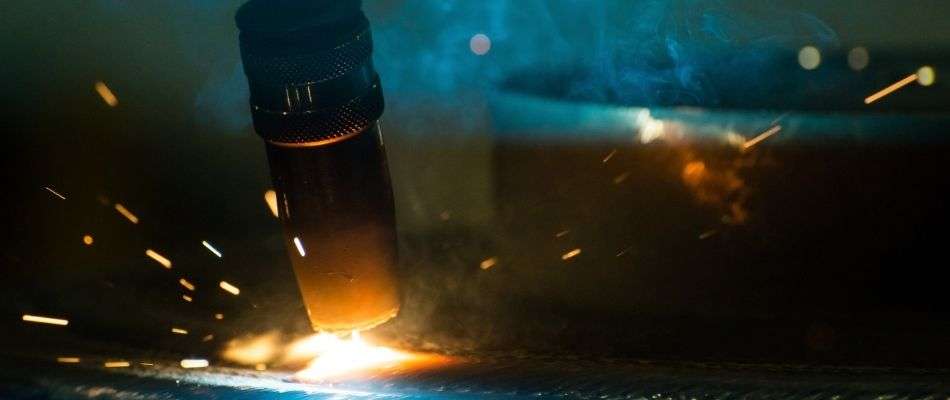
The arc length is the distance between your metal and the electrode tip of your welder. While it might seem like a good idea to keep the two apart, especially during the first few tries welding, you do want to make your arc length as short as possible.
A shorter length will keep the nozzle and the shield gas close to your wield, while a longer arc gives the metal less shielding gas.
This causes a weaker weld and wire splitting, both of which are bad for the strength and the look of your wield.
Related Article: How Does Arc Length Affect a Weld?
For a shorter arc length, then you can contaminate the tip of your welder with molten metal as you weld, which can damage the machine. It won’t do too much for your weld aside from causing some problems with some splattering.
Going too far away causes the damage to your weld. It just isn’t strong enough to do what needs to be done, and the heat of the weld can spread to parts of the metal that you don’t want to be heated.
This can cause several problems, the worst of which is the damage to the entire piece of metal.
So always make sure that the arc length is where it needs to be, and with practice, you will have a perfect wield that is just right and perfectly placed.
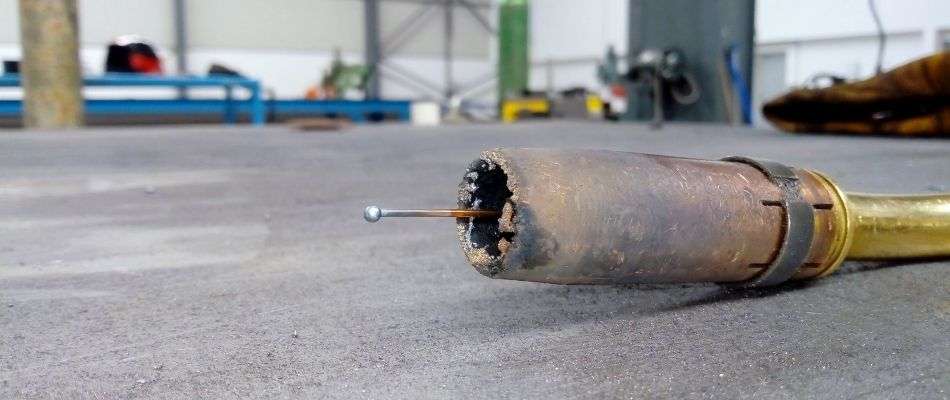
7. Undercut
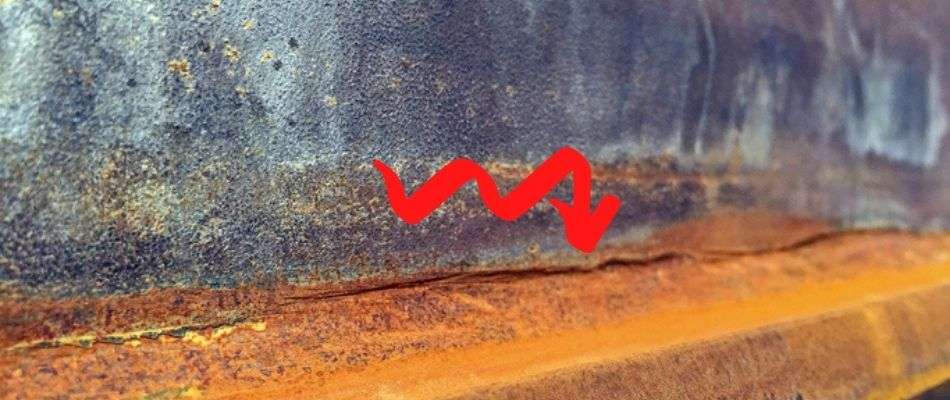
While distance is very important to the weld, the angle that you are welding at can be very important too.
If you come in too hot at the wrong angle, you can get undercut on your wield, which can gouge the metal’s side. Then you get a much weaker weld as a result. This is one of the mistakes most new welders make, and it can be rough.
Then the melted metal will seep into the undercutting, and it can cause cracks and humping of the metal that makes the entire weld look bad.
Slow speed and a long arc length can cause this as well, and it’s a common mistake to make.
Related Article: How Do You Fix an Undercut Weld? – Complete Guide
You want to always make sure that you are welding at the correct angle every time to make sure the weld is smooth and you only weld the parts that you want to weld.
It takes practice, but once you figure out the right angles, it’s pretty easy not to make this mistake again.
Handling These Welding Mistakes
If you asked seven different welders, ‘what makes a bad weld?’ You would probably get a variation on these seven above mistakes.
However, most of them are very easy to handle and avoid. For the wind and the cold, keep your welding warm and indoors. Undercuts, arc length, and problems with amperage and wire-speed can be fixed with practice.
Always make sure to clean the metal before use to prevent problems with the ground of the metal, and just take your time whenever welding any project. Then you’ll get to where you don’t have to worry about these basic mistakes anymore.
Once you get to that point, you can call yourself a good welder because you will always be making good wields.
So get all the mistakes and bad welds out of the way now, because the faster you make these seven mistakes, the faster you can start learning from what makes a bad weld.