How Do You Keep a MIG Tip Clean – 7 Actionable Tips
One thing that is inevitable with MIG welders is tip issues. Over the years I’ve had all kinds of issues with welding tips over the years but I’ve learned a lot about how to to keep them clean so I don’t ruin them and most of all save money buying a lot of tips. So what do to keep my MIG tip clean?
Tip dip will protect the tip from getting covered in spatter and building up. Use tip cleaners regularly and remove the tip to clean behind it. Adjust your welder for spatter to avoid build-up and avoid burn back into your tip. Finally, if you have too much dirt on your tip you may need to replace the liner.
Now that you have a basic idea of what might be causing your tip to plug up in the rest of this article I’m going share my seven tips to keep your tip clean and working longer.
7 Tips to Keep a MIG Tip Clean
In order to keep your MIG tip clean its all about regular maintenance and knowing what to look for so you can get the most out of your tip. So here are seven actionable tips to help you out.
1. Clean Your Nozzle
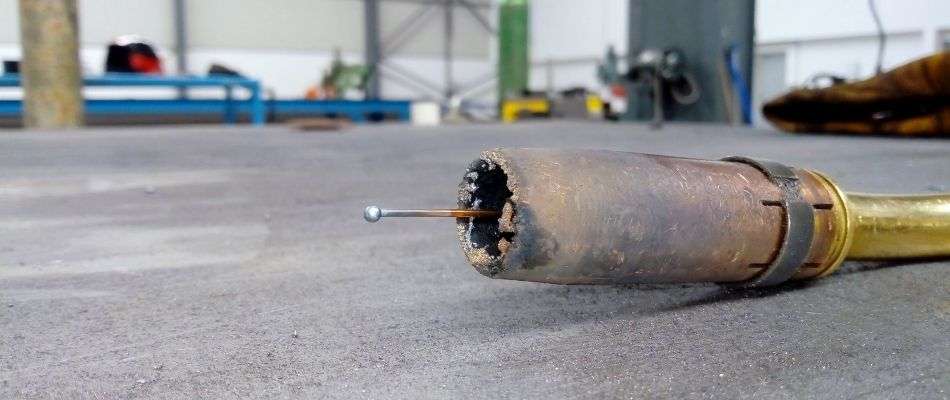
The first you need to do especially when are putting a new tip on your MIG welder is to clean the nozzle. If you put a nozzle on the welding gun that has a lot of spatter on it already it can cause a number of problems.
It could end up plugging up the tip, arcing out on the nozzle frying both the tip and the nozzle. Not only that it won’t allow the shielding gas to come out properly and protect the weld.
How to do this: To do this I like to use a pair of welding pliers to clean out the nozzle. Welding pliers have a long slender nose to help you remove spatter from the welding nozzle.
One thing to watch for is that you don’t damage the nozzle. For example, Bernard nozzles have an insert on the bottom side that can be very delicate and if damage won’t allow the shielding gas to move through the nozzle properly.
2. Use Tip Dip
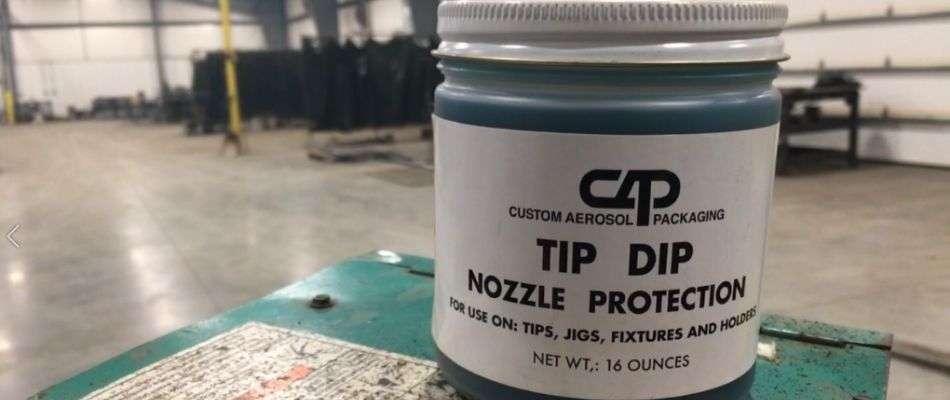
Once you’ve done a weld or two you need to check the tip again but this time the tip will be hot. Its usually at this point you’ll want to use tip dig to coat the tip.
By doing this is will put a protect layer of grease that will help prevent the tip from build spatter on it.
How to do this: To do this get a can of tip dip. Once you’ve made a few passes with your welder pull the nozzle off and plunge the tip into the grease. Finally, put the nozzle back on.
You can also dip the nozzle and tip-in at the same time. I like to do this because it coats the nozzle as well protecting it from spatter.
Depending on how much you weld you’ll want to reapply the tip dip from time to time as needed.
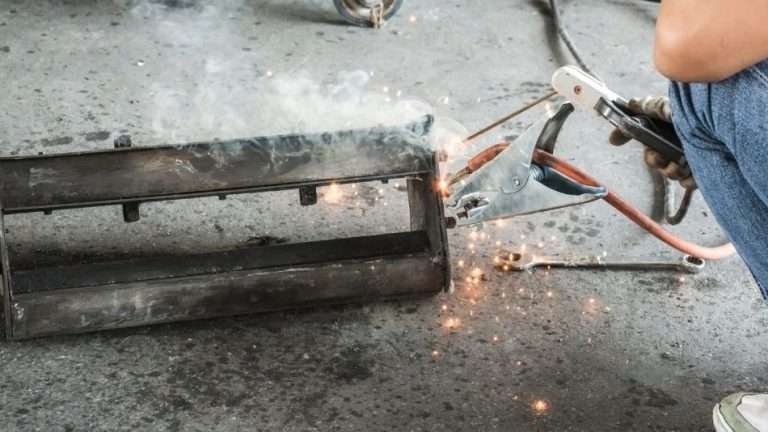
3. Avoid Burn Back
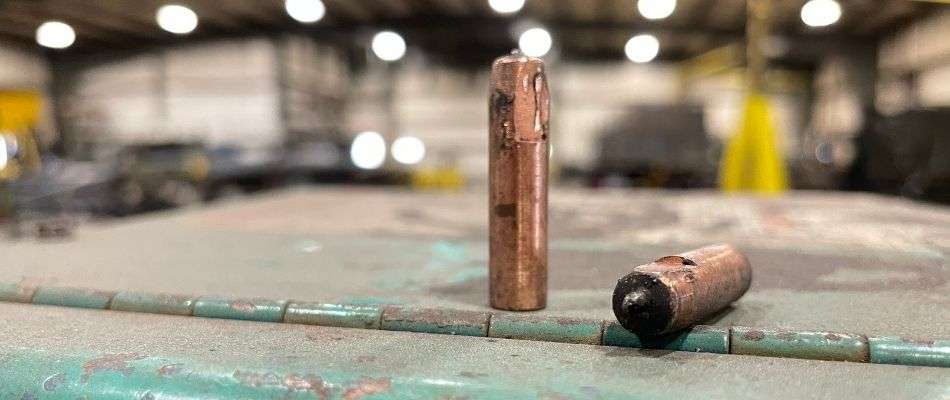
Another thing to watch for is burn back. This is where the tip gets too hot and the wire actually melts inside or on the top of the tip. This will stop the wire from moving.
This can happen from welding for long periods of time. I have one employee that welds skid loader buckets for me and he uses to do this all the time because he ran 72″ welds. As a result, he would burn through a bag of 10 tips a week.
How to avoid this: First, don’t try to weld long welds if you don’t have to. Do shorts and small breaks in-between. This will give the tip time to cool down.
If you have to weld long welds like this you may want to consider using a pulse welder. These types of welder are designed to run longer welds. They even have a coolant pump that pushes water and coolant through the gun to keep the tip from overheating.
Finally, if the tip does burn back it will be ruined. If this happens you’ll need to get a new tip.
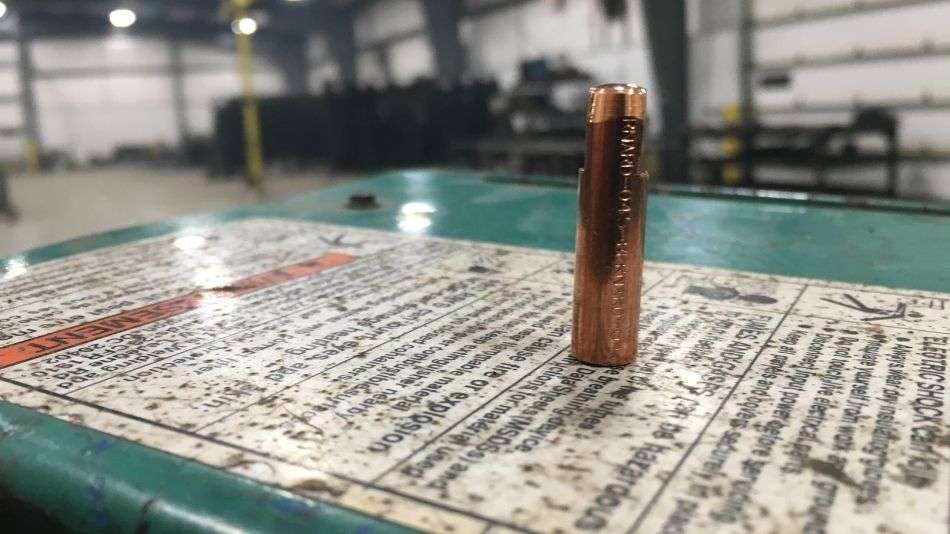
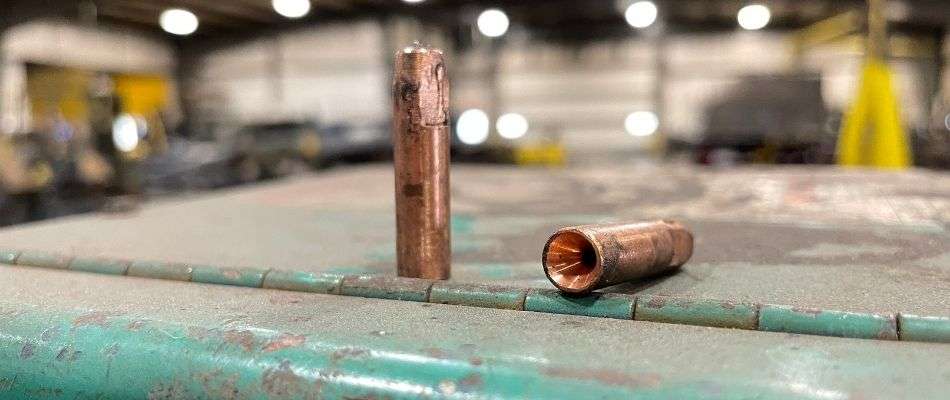
4. Use Tip Cleaners Regularly

The next thing you can do to keep your welding tips cleaners is to use tip cleaners. I personally don’t like this when the dirt is plugging up the tip hole or I get a small piece of spatter on the tip.
A lot of times I can use these to clean things up enough to keep using the tip without having to throw it away and get a new one.
Quick Tip: If the tip hole gets worn out and oversized it can cause the wire to come out of the welding gun where it will walk back and forth instead of coming out straight.
How to do this: First get yourself a set of tip cleaners. They come in long and short sets, I personally like the long set of tip cleaners.
Next, find the tip cleaner that fits the size of the hole in your welding tip. Don’t try to force the tip through the hole. It should move freely through the hole.
Finally, run the tip cleaner through the hole till it runs freely. If you can’t get the tip cleaner to move through the hole you may need to get a new tip.
5. Clean Behind the Tip
Another place to check from time to time is behind the tip itself. This is because they can build up dirt as the wire moves through the lead and welding gun. This happens because dirt lands on the welding wire and moves through the liner.
Dirt can be a huge culprit to welding in general and if you don’t manage it, it will ruin your welding consumables. So how do you fix this?
How do you fix this: The first thing you’ll want to do is remove the tip from the welding gun. A lot of times the problems you have with the welder are the ones you can’t see.
Next look at the bottom side of the tip. Check to see if it has dirt on it. This is a clear sign your welder has a lot of dirt in it and that it’s plugging up your tip.
Finally, remove the dirt so it doesn’t keep plugging up the tip.
6. Adjust Your Welder For Spatter
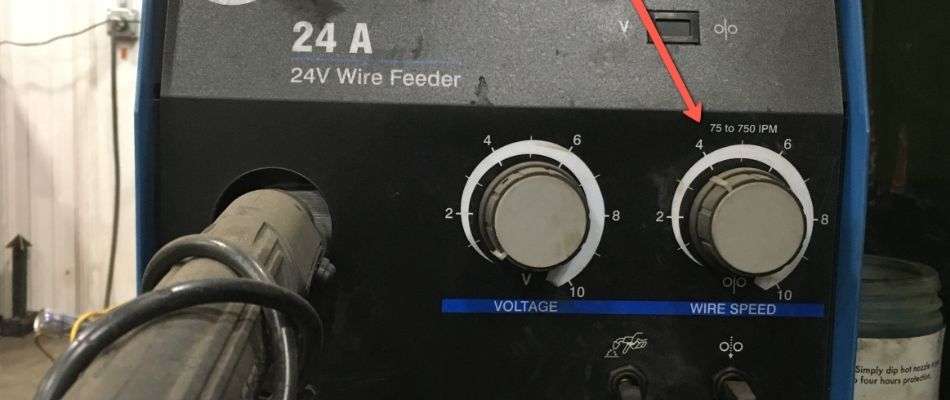
Another way to minimize tip issues is to adjust your welder so it doesn’t produce so much spatter. If you have too much spatter it can be hard on the tip and nozzle.
The best way to fix this is to adjust your welders setting to cut down the spatter.
How do you fix this: Start by adjusting the wire speed on your welder. If you’re getting a lot of spatter it’s likely because your wire speed is too fast. Instead, slow it down and you’ll likely see a reduction in spatter.
You may also have to adjust your voltage depending on your wire speed to help cut down the spatter.
7. Change Your Liner
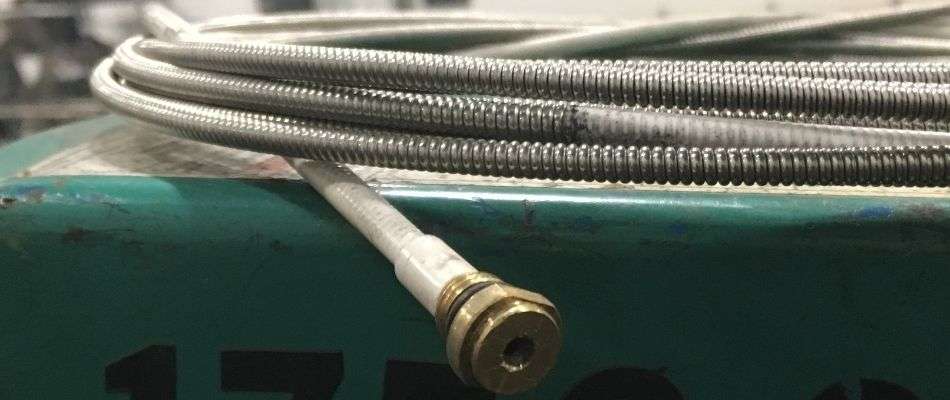
Your final option is to change the liner on your welder. The liner is the part that goes inside the lead that goes between the welder and the welding gun.
One of the common problems that happen is that the wire will move through the liner and as it does this any dirt on the liner will tend to build up there. Eventually, the dirt will make its way to the tip plugging that up.
If it gets to bad this can not only plug up the tip but also plug up the liner.
How do you fix this: The best way to fix this is to replace the liner altogether. Start by removing the lead from the welder. You will also have to remove the tip and diffusor from the welding gun.
Once you have this off you should be able to pull the liner out. You may have to loosen a set screw to get the liner depending on the type of welder you’re using.
Related Article: Read my complete guide on changing your welding liner here.
Finally, slide the new liner in the lead. The lead may be too long so you’ll have to cut it down to size. Then hook the lead back up to the welder and put your diffuser and tip back on the welding gun.