What Is the Best Way to Weld Stainless Steel – Beginners Guide
Over the years I’ve welded all sorts of stuff from regular mild steel, aluminum, and galvanized, to stainless steel. When it comes to welding different types of steel, especially stainless steel you need to understand the properties of the metal before you can just start welding it. So what is the best way to weld stainless steel?
MIG or GMAW is the best way to weld stainless steel. To do this you will need to use a stainless steel wire and stainless trimix shielding gas. When welding, keep your liner straight and clamp your project to prevent the metal from warping. Tack the stainless first to keep things in place before laying your final weld.
In the rest of this article, I’m going to cover exactly how I weld stainless steel and what things you can do to avoid costly mistakes and lay down some great beads.
How To Weld Stainless Steel
If you’ve never welded stainless steel don’t get too worried it is actually not that much different than welding regular mild a36 steel. While it is a completely different type of steel it’s also important to know that stainless steel has some different properties to it than regular steel.
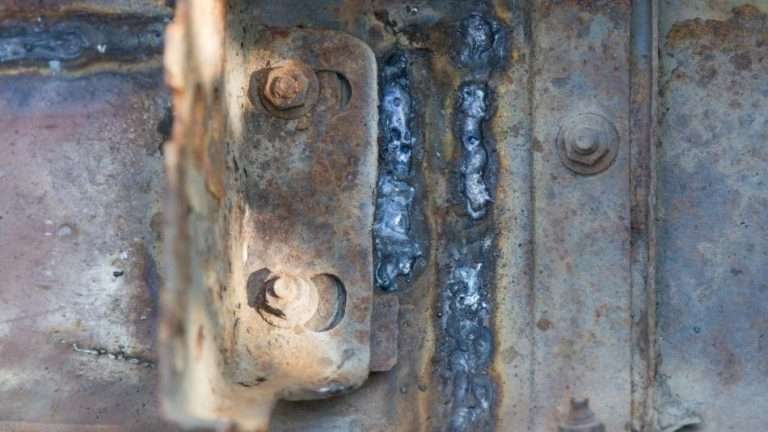
Stainless is made of iron and carbon but also has Chromium and Nickel in it to help prevent corrosion which gives it that shiny look. In my weld shop, we use a lot of stainless for feet on hog gates because of the harsh environment it’s in.
Below is the process for welding stainless steel.
1. Get the Right Type of Wire
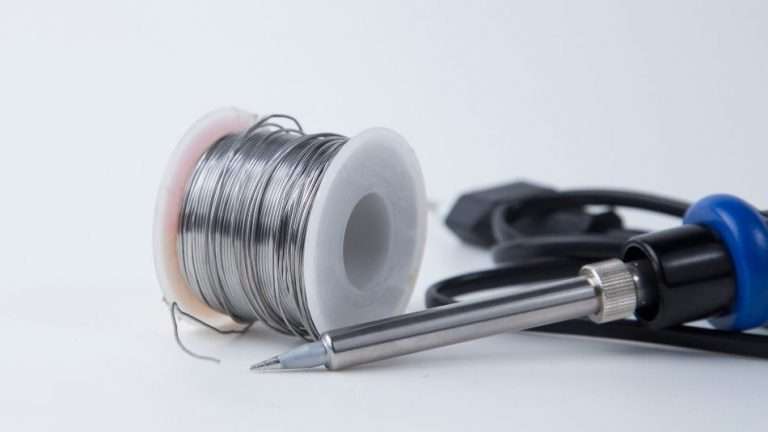
First, you’ll need to change the wire you use in your MIG welder. You can’t use regular steel wire. This is because the steel weld will rust and defeat the purpose of using stainless in the first place.
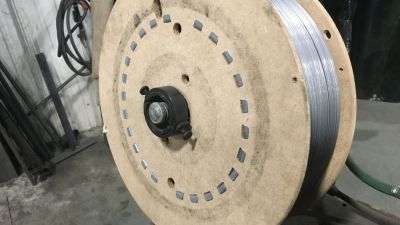
To do this you need to weld with a stainless steel wire. Stainless wire comes in various sizes rolls from 10 pounds to 30 or even 60-pound rolls if needed.
Side Note: If you don’t need a lot of stainless wire buy smaller rolls as these rolls can get expensive.
You can also get the wire in various thicknesses from .035 to .045 up to 1/16″. I find .035 and .045 to be the most common though.
From there you’ll want to remove the steel wire from your welder and install the stainless wire.
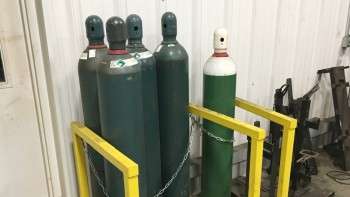
2. Stainless Steel Gas
After you choose the right wire you need to make sure that you are using the right gas. Since stainless is made up of different metal other than carbon and steel you’ll need a combination of gases called Stainless Trimix.
Stainless steel tri-mix gas contains a mixture of CO2, Argon, and Helium to work properly. This is the best mix as it gives the desired effect while keeping the CO2 level low enough to avoid damaging the corrosion resistance of the metal.
Again this gas can be a bit expensive so buy a smaller tank if you want to save some money.
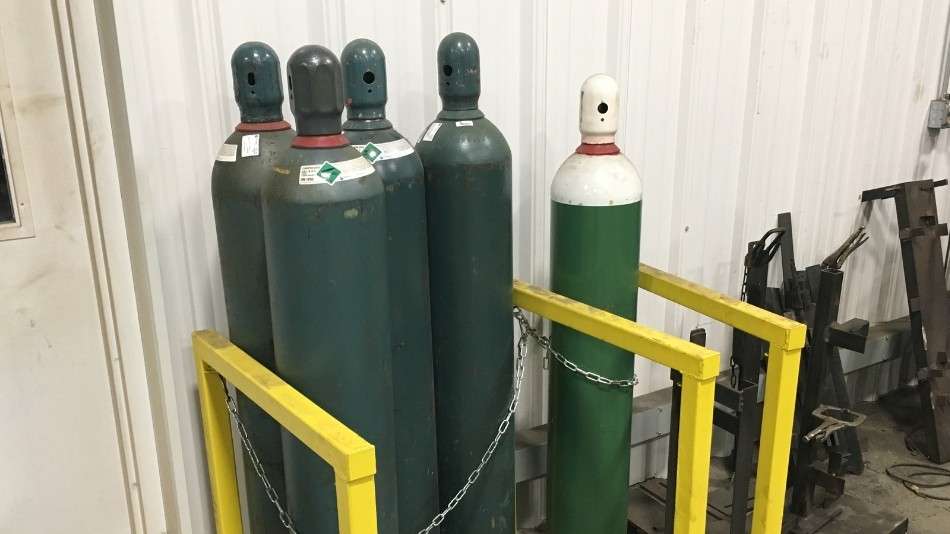
Once you have the gas remove the current tank and hook up the new tank. If you’re not sure how to do this check out this guide on changing welding tanks here.
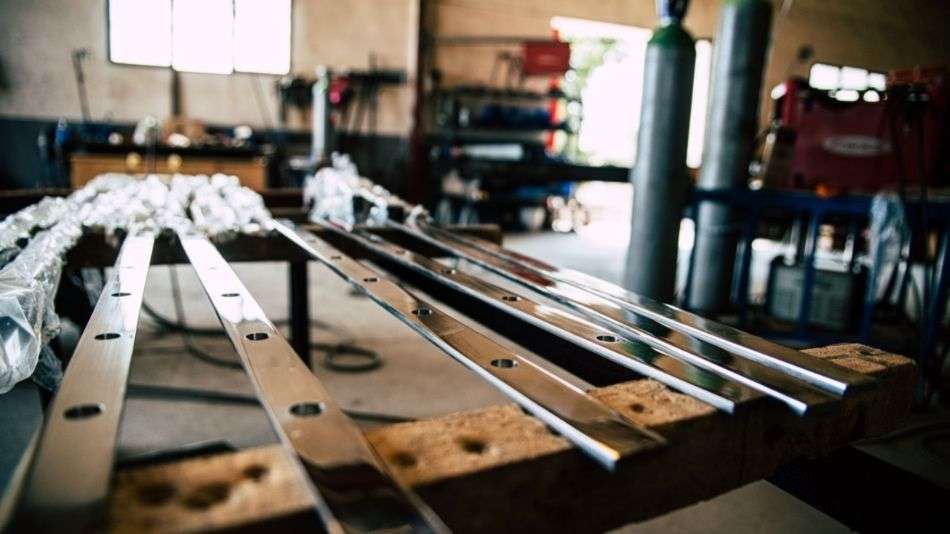
3. Properly Clamp Your Metal
Now that you have your wire and gas switched out you’ll need to think about how you plan to clamp your materials down.
Because of the different types of metal stainless steel is compared to normal steel it can very easily warp when you are applying high temperatures. If stainless steel is placed under excessive welding heat it will warp and can even distort under the cooling process.
For this reason, it is very important that you properly clamp your metal before you begin final welding. Additionally, it is a good idea to pre-tack everything to make sure everything goes as planned and that you have control over the process.
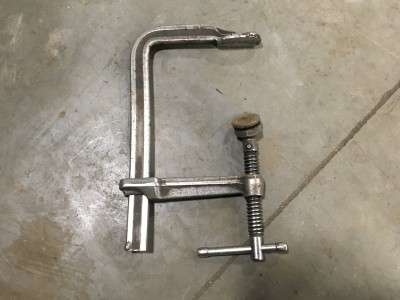
To do this you’ll need one or all of 4 types of these clamps.
- Vise Grips. These are great for clamping flat plates, angle iron, and rod.
- 11R Clamps. These clamps have bigger jaws and work great for clamping further in.
- Bessy Clamps. These are heavy-duty type C clamps made in Germany and works great to keep things solid and steady.
- Pipe Clamps. If you have something really big to clamp together then pipe clamps are your best option.
I have all of these clamps in various sizes and once you have then you’ll wonder how you ever got things done without them.
4. Running Your First Weld
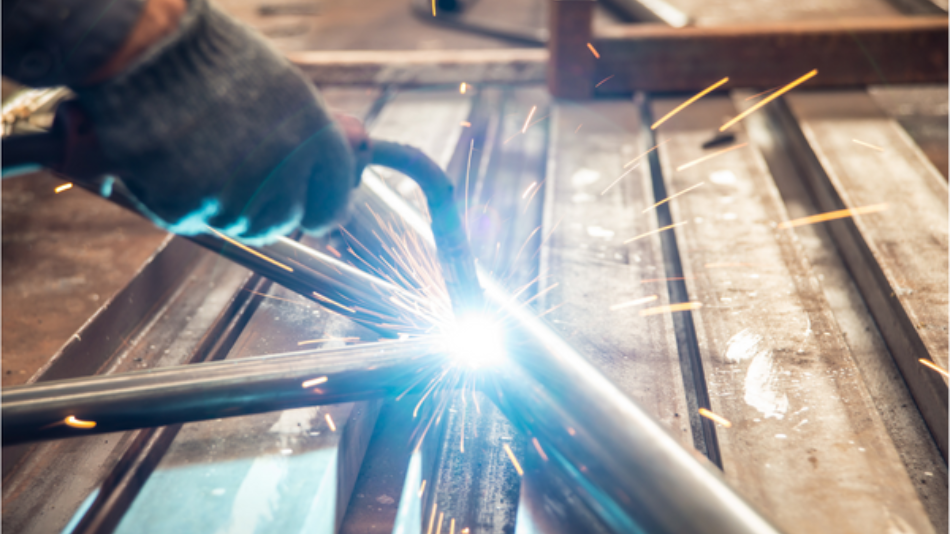
Now that you have everything clamped down you’re ready to start welding well not quite. Since stainless tends to warp when it gets hot we also want to do one more thing. You’ll want to pre-tack your parts together.
You don’t want to start by welding the final weld all at once. This may cause your stainless to warp even though everything is clamped down.
A few years ago I had to weld a stainless steel hog gate together. I had two 1/4″ flats on the ends and half-inch stainless rods in the middle. Not knowing that things could warp so bad I welded the gate on just one side without tacking things first.
As you might imagine the whole gate warped and destroyed the jig. To avoid this issue you’ll want to tack everything first.
On top of that when you start to weld you’ll want to start on the opposite side of the tacks. Doing this will help prevent warping since one side is tacked in place it will help hold the parts in place.
Finally, keep your welds short. The more you weld all at once the more hotter your metal will get and the more likely it will a warp.
5. Check Your Weld Over
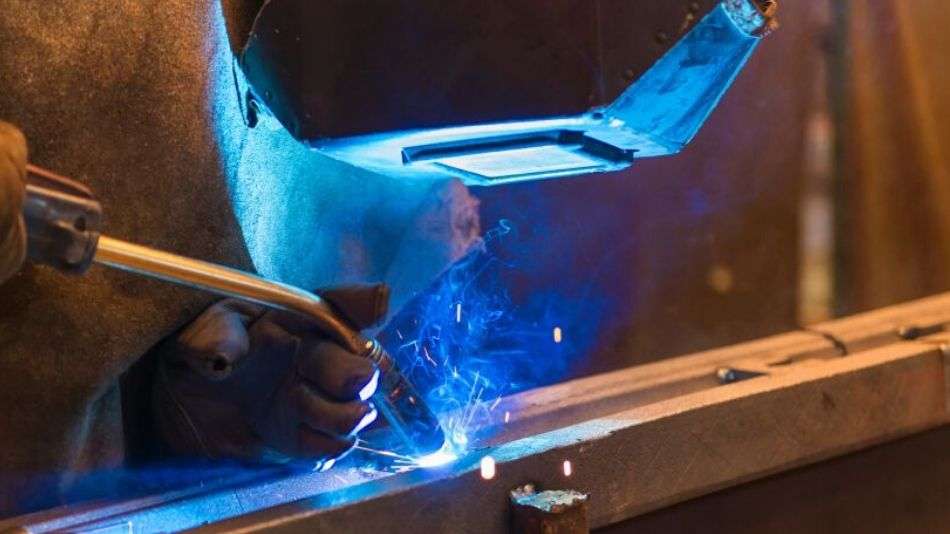
During the entire welding process, it is super important that you always check your weld over. Checking your weld over and fine-tuning your welder is very important to keep the performance and the final results as great as possible, which is what you want.
By fine-tuning your welder, you eliminate spatter as much as possible. This is super important as it can be extremely hard to remove spatter from stainless steel if it gets there. It is in other words just always best to have as little spatter as possible in your welder.
You can also use a weld spatter spray to help keep the surface clean from spattering as well. While I don’t rely heavily on these sprays I think a good combination of proper settings and spray will give you the desired result you’re looking for.
3 Quick Tips for Welding Stainless Steel
Now that you know my process for welding stainless steel I want to share some of my top tips with you. These are things I’ve learned over the years that will save tons of time and aggravation.
1. Lower The Tension
The first thing to know is that you don’t want the tension to be too high. As your wire spines off the roll it passes through a set of rollers. These rollers are set by a tension screw that determines how much force should be applied.
If you put too much tension on the wire it will cause it to snap or bend as it passes through the rollers creating a bird’s nest. This can be aggravating to clean up and fix.
I remember one of the first times I welded stainless steel and had this issue. It caused a lot of problems and wasted a lot of wire, and as I mentioned earlier stainless steel wire can get expensive, so don’t waste it.
2. Keep Your Lead Straight
Next, you’ll want to keep your welding lead as straight as possible. Your welding lead is the black hose that comes out of your welder and goes to your welding gun.
Your lead also carries your liner which is what the stainless wire goes through to get to your welding gun. The reason you want to keep this as straight as possible is because the stainless wire is a harder type of metal that can break easy.
If your lead is all curled up it can be harder to push the wire through the lead causing it to snap and create a bird’s nest.
As I mentioned in the last tip this can be aggravating and costly.
3. Keep Your Tip Clean
The last tip is to keep your tip clean. Stainless steel weld spatter can be hard to remove and clean up. Worst of all if it gets on your welding tip it could plug the hole and ruin the tip.
The best solution here is to clean the nozzle and tip regularly and to use tip dip to prevent stainless spatter from sticking. Tips and nozzle can get ruin fast if you don’t keep these things clean.
So take some time regularly clean them.
Is It Difficult to Weld Stainless Steel
When it comes down to it stainless steel isn’t that hard to weld. You just need to set your, welder, up correctly, Clamp and tack your metal and you’re ready to go.