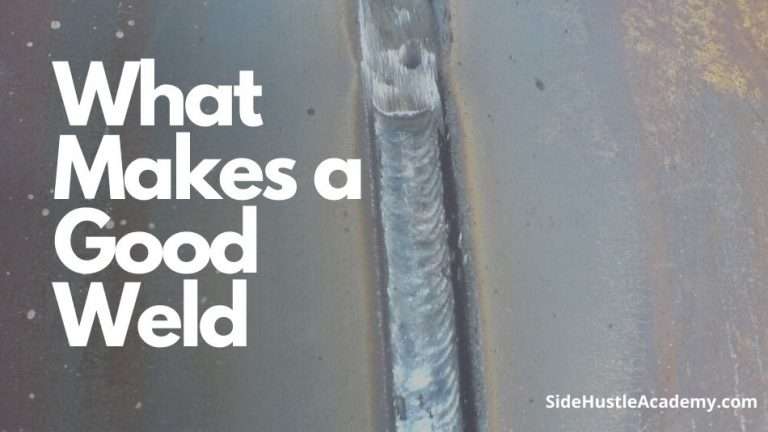
How to Clean a MIG Welder Liner

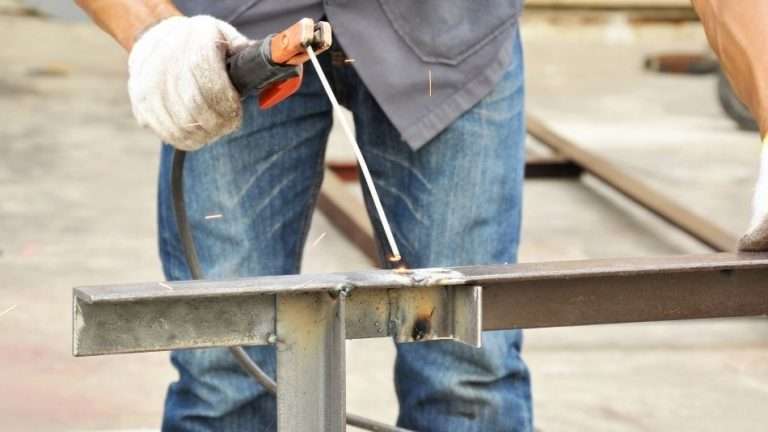
Over the years I’ve welded a lot of different things, gating for hog barns, trailers, and any other odd things customers have brought me.
However, from time to time, your welder is going to break down and one of the first things I check is the welding tip. If the tip is good then the next thing I check is the welding liner itself.
How to clean a MIG welder liner?
- First, loosen the liner nut and remove the nozzle, weld tip, diffuser, and wire from the liner.
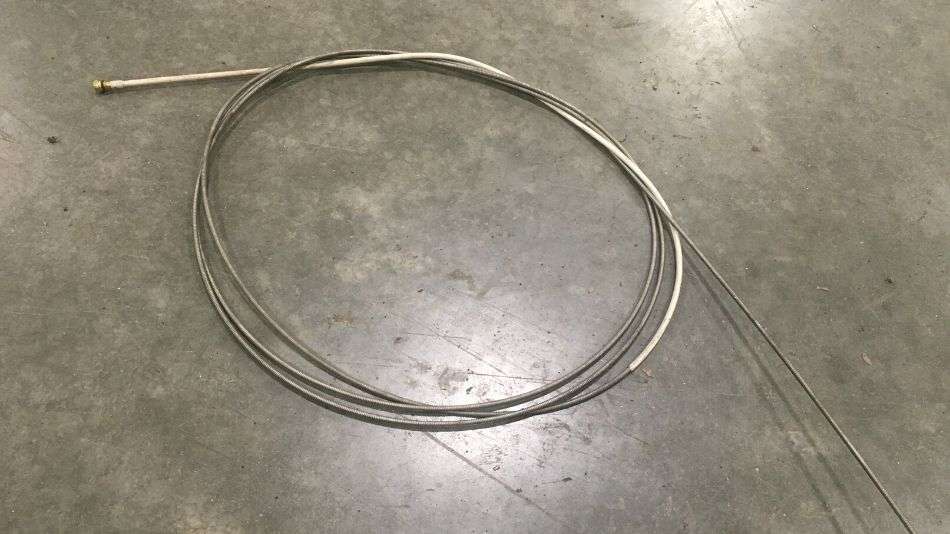
- Remove the liner from the welding lead.
- Blow air through the lead to remove as much of the debris as possible.
- Check the liner over for any kinks or bends. Replace the liner if necessary.
- Install the liner back in the welding lead.
Overall those are the basic steps I follow to clean my welding liner but if you would like to go more indepth on this entire process keep reading.
What is a Welding Liner?
The purpose of a MIG welder’s liner is to help the welding wire glide easily from the wire feeder through the gun cable and up into the contact tip for your gun.
Liners are the reason that the wire can go from one part of the gun to another smoothly. They guide it and make sure that it stays along the correct path.
If your liner fails at its job, then the gun becomes inoperable and can’t properly weld anything.
There are a lot of problems that happen that can prevent the liner from doing its job, which leads to quality issues within your weld itself.
Types of MIG Weld Liners
There are a couple of different liners used in MIG welding machines. The one you need is going to be determined by your MIG wire.
#1 Teflon Liners for Aluminum
Aluminum wire will require Teflon liners. This lets the aluminum through more smoothly. Aluminum is soft enough to move very quickly through the line and offers less drag.
For this type of liner, you want to make sure it sits right against the drive rolls, which is more extended than usual. You will probably look at it and think you need to cut the end off, but believe us when we say you do not.
#2 Teflon Steel Coated Liner
With steel wire, you will need a Teflon coated steel liner instead. This wire is much more rigid and firm.
These liners also have a ferrule on the end that will lock in with a supplied nut.
Now there are more than this but these are the main two types of liners that I use in my welding shop.
3 Liner Buying Tips
#1 Liner Size
The right size of the liner is also going to help maximize your welding performance and the efficiency of your MIG welding.
Small diameter wires (or wires .023 to .045 inches) are lower in strength. If you put them in a liner that’s too big, they’ll end up wandering around and may develop issues.
That also ends up with the possibility that your liner will go bad and fail before the expected lifespan because it is taking excessive amounts of strain.
#2 Liner Type
Second, you need to consider the type of line you have for your welding gun. I personally use Bernard welding guns and liners because they are built heavy duty.
On the other hand, a cheaper liner like Tweeco is still a good option and works great but I’m personally not a big fan of the Tweeco gun and nozzle.
#3 Liner Length
Finally, the liner length is an important part to consider as well. For most people, a 15-foot liner will do.
However, if you need a longer liner you will have to make sure its the right length.
Dirty MIG Welding Liners
Dirty MIG welding liners create a lot of problems that eventually result in an inoperable MIG welder gun.
Here is more information about dirty liners and how to avoid the resulting issues.
How does a MIG welding liner get dirty?
Neglect can quickly cause a line to become dirty. As they frequently mention, the best way to maintain a machine is through prevention.
Being proactive can eliminate problems before they happen and avoid serious and costly failures. One of the ways welding liners get dirty is when they are not cleaned regularly.
Bending the line and cable on your gun can also cause problems with your wire liner. Liners are designed to have a balance between flexibility and rigidity.
This lets them guide the wire when you’re in awkward positions, even when the gun’s cable has been bent out of shape a bit.
Still, if you continuously bend the cable too much, it can lead to poor wire feeds, bird nests, and dirty liners that will wear out well before their lifespan.
These tight bends along the cable will result in the friction between the liner and welding wire is increased. This will make it far more difficult to get your wire pushed through your liner.
That difficulty can lead to an accumulation of metal fragments in your liner and causes too much wear and tear.
These little particles and metal fragments will all slowly begin building up, and eventually, they will result is massive blockages in the wire feed.
Even when you aren’t bending your cables too tightly, it can still happen, albeit with a lesser likelihood. This means you need to clean it regularly to extend the life of your liner.
Improperly installing your liners after cleaning or replacement can also cause them to get dirty very quickly. You want to feed in the liner carefully when you install it.
If you end up twisting your cable when you trim your liner to fit, it may end up being too short. This can cause gaps that will feed the wire erratically and allow the liner to become dirty.
How to Clean a Welding Liner
There are a few ways to clean a welding liner, but one of the most important things to keep in mind is that it should be done every week to keep tour performance at the optimal level.
What are the benefits of a new, clean liner?
Clean liners eliminate kinks in the line. These kinks will back it up and lead to problems like birds nesting and other wire feed problems.
When these issues happen, you end up with a poor weld.
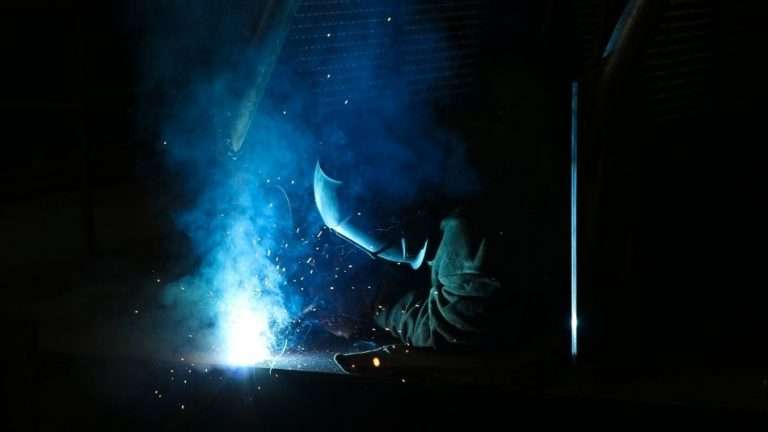
How to Clean a MIG Welder Liner
Now it’s time to clean the liner. This is the process I use to clean my welding liner.
Side Note: I should note here that if this process does not work your liner may be bad and may need to be replaced altogether. Liners don’t last forever and may need to eventually be replaced from time to time.
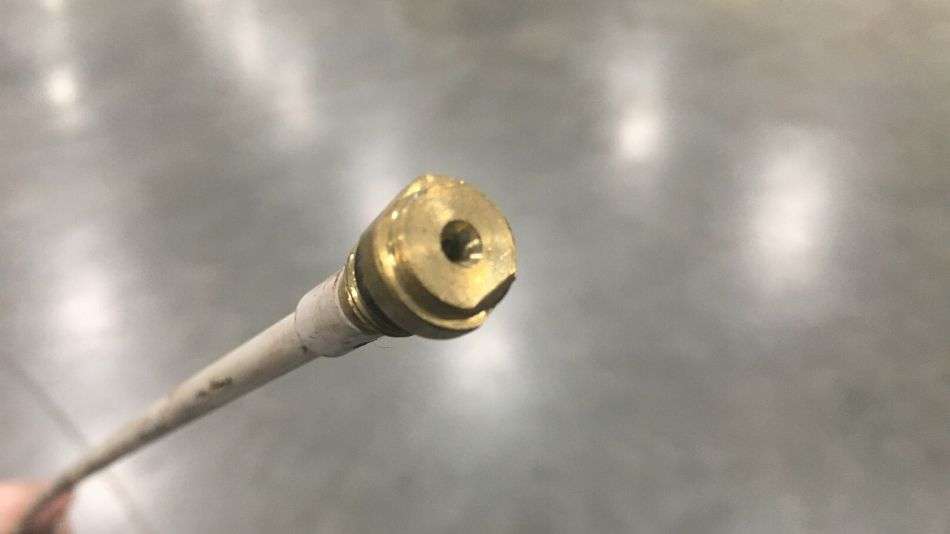
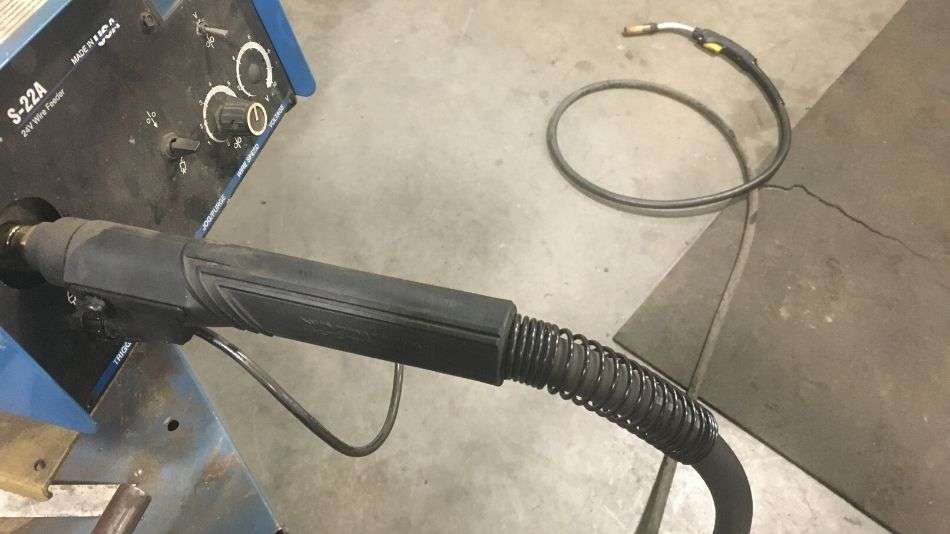
#1 Unscrew the Liner Nut
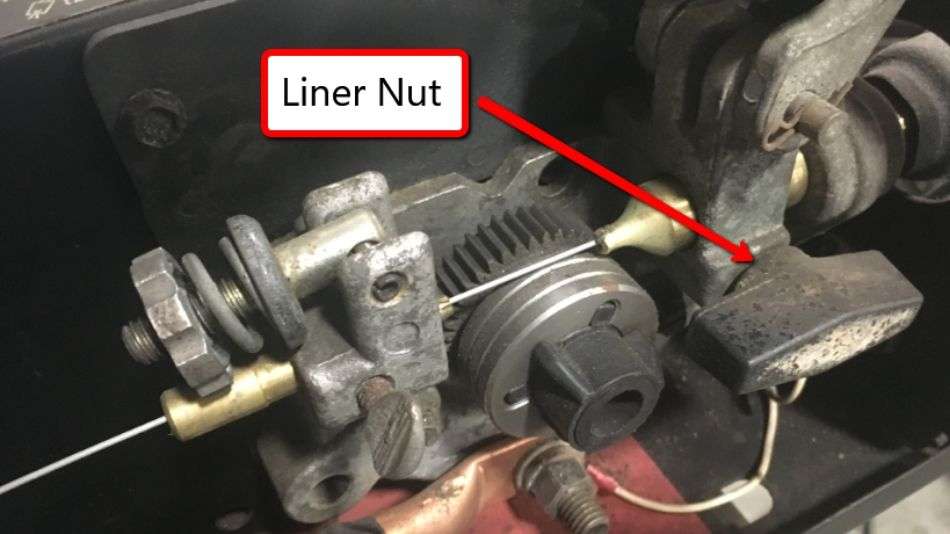
Cleaning your liner is very important, but luckily it is also very easy to do. Most MIG welders will include a spanner.
You will also want to remove the welding wire and the weld tip from the gun before you remove the liner from the gun.
You’re going to use that spanner to unscrew the liner’s nut. It should be at the end. Then, you will remove the liner from your gun.
#2 Blow the Liner Out
The most common way to clean the welding torch liner is by taking a can of compressed air and blowing it in bursts through the dirty liner.
This process will push any metal powders that may be building up on your liner through it and keep it in a good condition.
#3 Check the Liner Over For Issues
Make sure that you check for kinks while you clean the liner, too. You also want to feed the wire and liner back through the machine every time.
If your welds start to get a lot of drag, then you will need to check your liner.
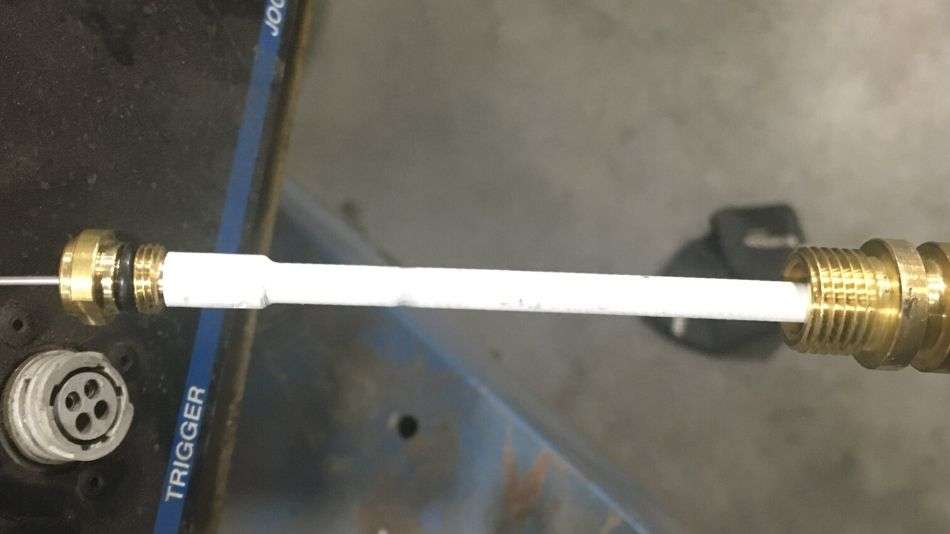
#4 Put the Liner Back in the Lead
When you finish, you will feed your newly cleaned liner back into your gun. Make sure you don’t kink it when you do this. It’s a very delicate process that will need to be performed slowly and carefully so you don’t ruin your line.
Keep your gun itself in a very straight line to avoid the risk of kinks forming along the line. Slowly push your liner through the gun, making sure to be gentle. It can’t be stressed enough that you should complete this process very slowly.
Finally, you will get your nut and spanner and put it back in place. This will secure your liner. From here, you should be ready to weld again.
#5 Replace the Liner – If you Need To
If it has a block or any kinks in it, your liner is already doomed. Once you get a kink, your liner needs to be completely replaced and cleaning it won’t fix your issue anymore.
Keeping your gun as straight as you can when you use it, with easy curving, will allow you to keep your liner from getting these kinks and help it stay as clean as possible.
If you are concerned with installing a new liner, you can buy some consumables that will help you install it without any errors. These diffusers will lock your liner in place and align it for you so that there are no gaps between the power pin and contact tip.
It will make sure that you are not out of alignment and keep it concentric. Just be sure to feed the liner into place through the neck of your gun, then lock it in place and make sure that when you trim it, you’re cutting it even with the back of the power pin.
Conclusion
What are you doing to clean your MIG welder’s line? As you can see, liners play a very vital role in your MIG welder’s process.
Without them, you can’t weld. When they drag, or kink, your welds suffer. Choosing the right liner and keeping it clean is extremely important.